
Kitchen cabinet plywood should be ordered by component: sides, shelves, backs, doors and drawer parts have different requirements. Match core, thickness, bond, emissions and face preparation to the cabinet drawing and finish. Minh Thanh Plywood supplies double-pressed furniture panels with Styrax or Eucalyptus cores. Approve a complete plywood cabinet box and a finished door before ordering the sheet mix.
What makes kitchen cabinet plywood suitable for production?
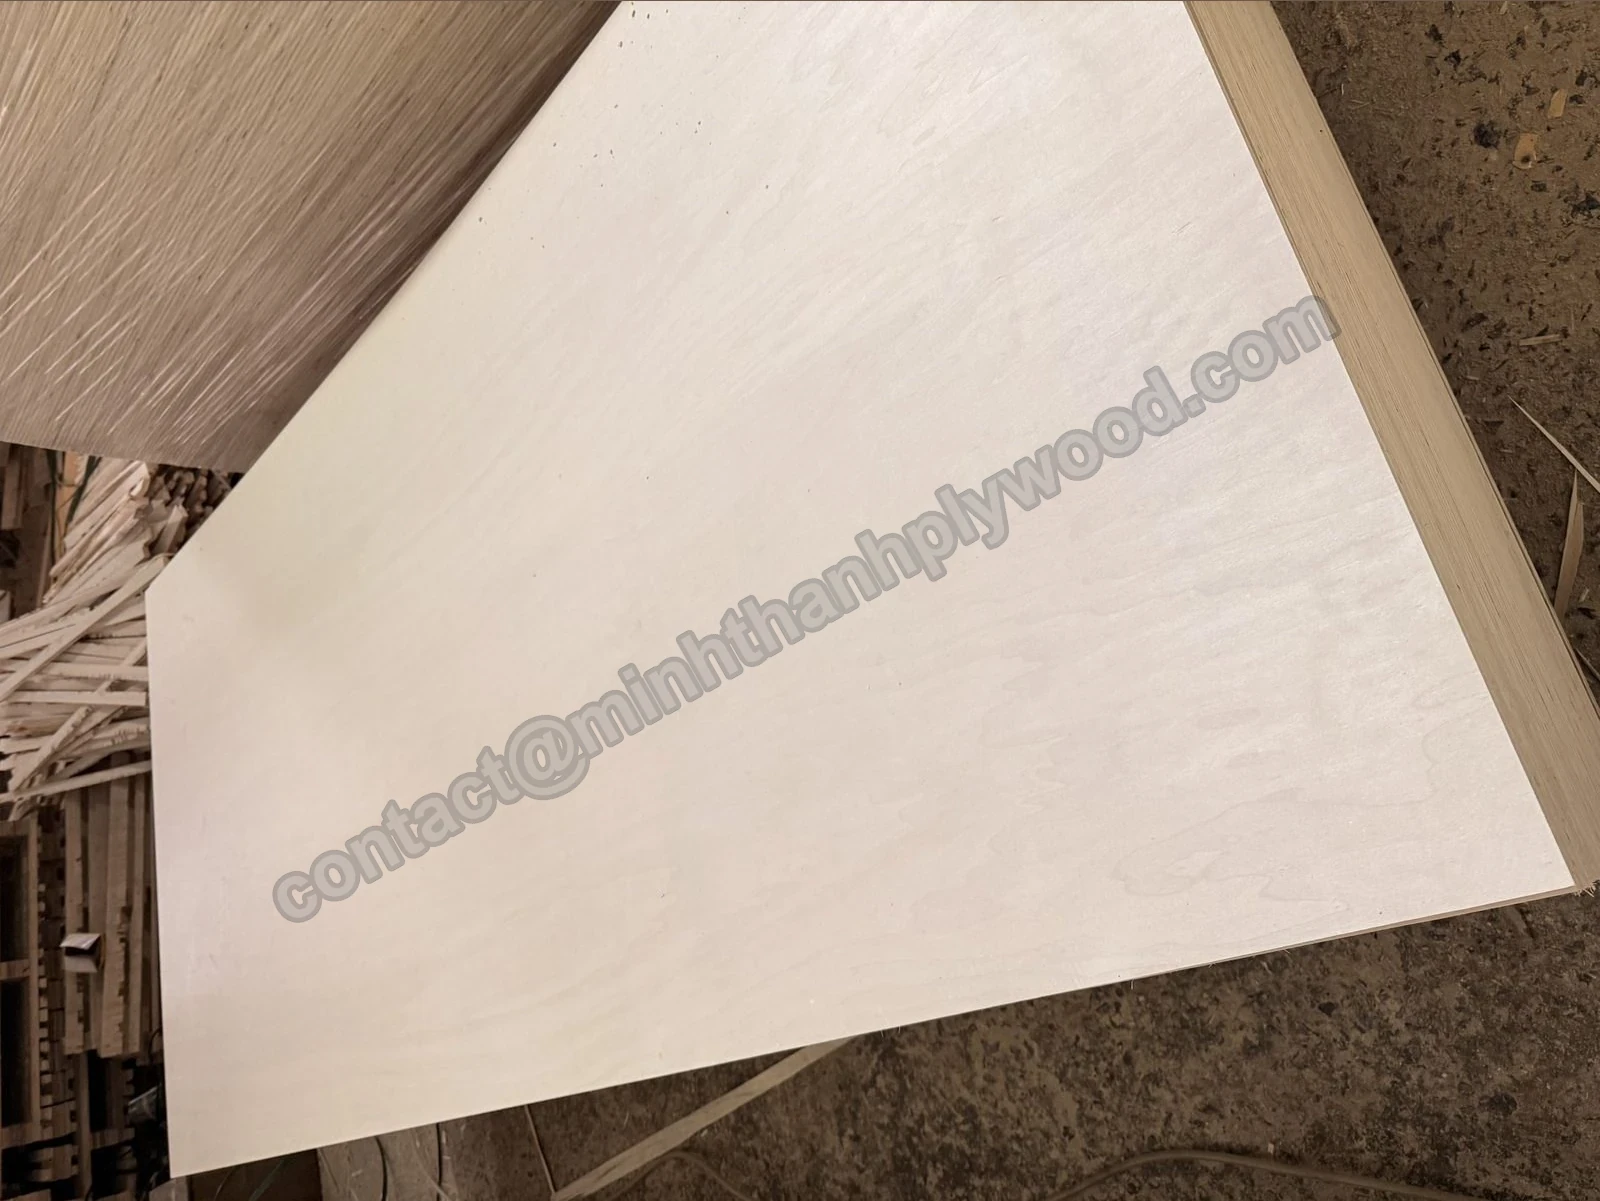
A suitable panel produces clean parts that fit the cabinet drawing, accept the chosen finish and work with the specified hardware. Face appearance is one part of that decision. The core, finished thickness, bond and workshop process determine what happens after the first cut.
Minh Thanh’s furniture plywood uses white Styrax or Eucalyptus core, stitched assembly and double pressing. The core board is pressed and calibrated before face and back are applied. That construction gives the buyer a defined starting point for sampling rather than a vague request for “cabinet grade”.
| Field | Minh Thanh kitchen cabinet plywood |
|---|---|
| Faces | Birch D+/D or D/D, poplar A/A or A/B, EV, pine A/A or A/B, okoume; matched to the approved sample |
| Core | White Styrax or Eucalyptus, stitched horizontally and vertically |
| Pressing | Twice: core pressed and calibrated, then face and back |
| Glue | UF glue at E0 emission; MR/melamine-fortified or phenolic WBP on order for sink units |
| Thickness | 3–40 mm; sanded tolerance ±0.2–0.3 mm, down to ±0.2 mm |
| Thin backs | 3–5 mm, always five plies |
| Surface | Sanded and polished, both faces UV-ready for your coating line |
| Moisture | 8–12 % at dispatch |
| Formats | 1220 × 2440 and 1250 × 2500 mm, custom sizes and cut-to-size |
Read the kitchen as a component schedule. Base-unit sides meet connectors and levelling arrangements; wall cabinets meet hanging hardware; shelves span between supports; fronts carry hinges and handles. Sink units encounter different exposure from dry storage. Give each component its own panel line and acceptance criteria so the purchasing team can compare like-for-like quotations and keep the workshop supplied with compatible parts.
How should you schedule cabinet box plywood?
Schedule the cabinet sides, top, bottom, back and shelves separately, even when several use the same panel. These are the thicknesses kitchen makers order from our 3–40 mm range.
| Cabinet component | Thicknesses to evaluate | Practical approval check |
|---|---|---|
| Base and wall cabinet sides | 15–18 mm | Connector fit, assembled squareness and hardware engagement |
| Tops and bottoms | 15–18 mm | Joint seating and the installed support arrangement |
| Ordinary adjustable shelf | 15–18 mm | Span, load distribution, edge treatment and deflection |
| Wider shelf or heavy storage component | 21–25 mm or changed support | Sample deflection and the effect of added support |
| Captured thin back | 3–6 mm | Groove fit, fixing and contribution to box squareness |
| Door or decorative drawer front | 15–18 mm | Hinge or front fixing, flatness and finish |
| Drawer sides and bottoms | Separate drawer schedule | Runner drawing, joints and bottom support |
Thin 3–5 mm plywood always has five plies in our range. Wall cabinets hang from a rail, so the back stays a light 3–5 mm panel.
Is poplar plywood good for cabinets, and which face is best?
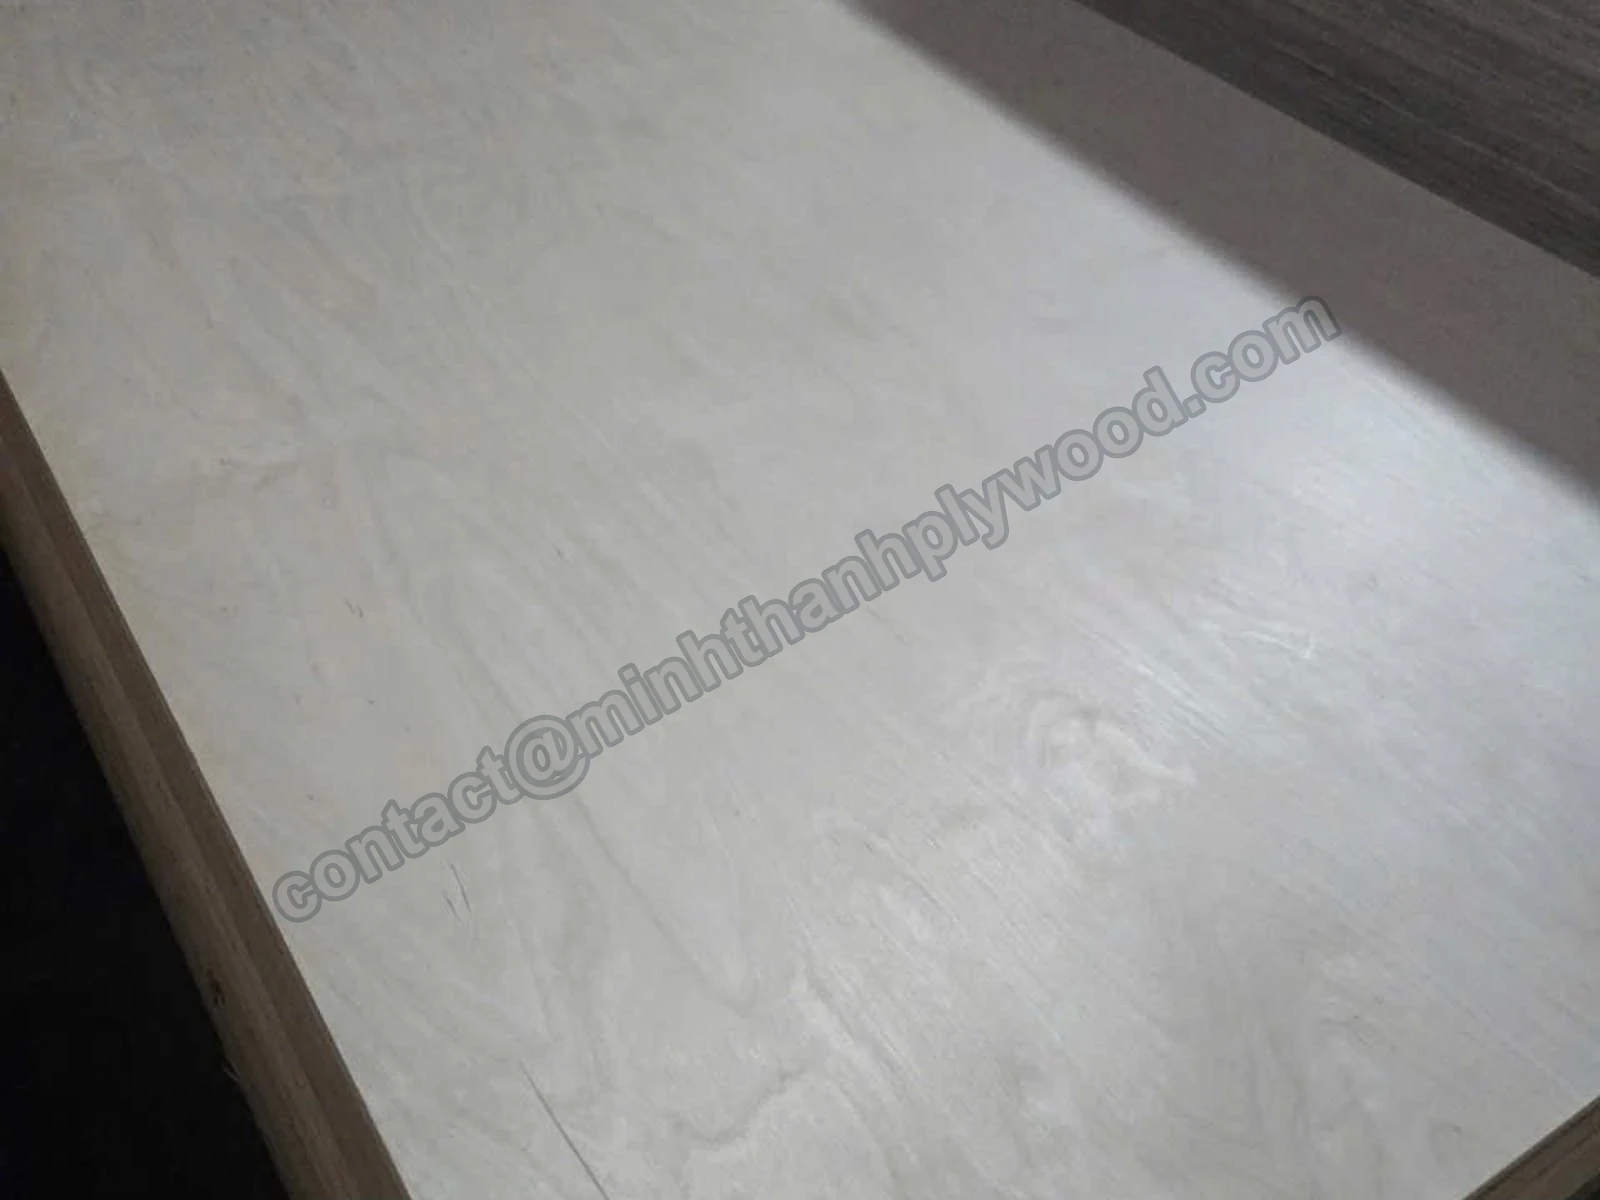
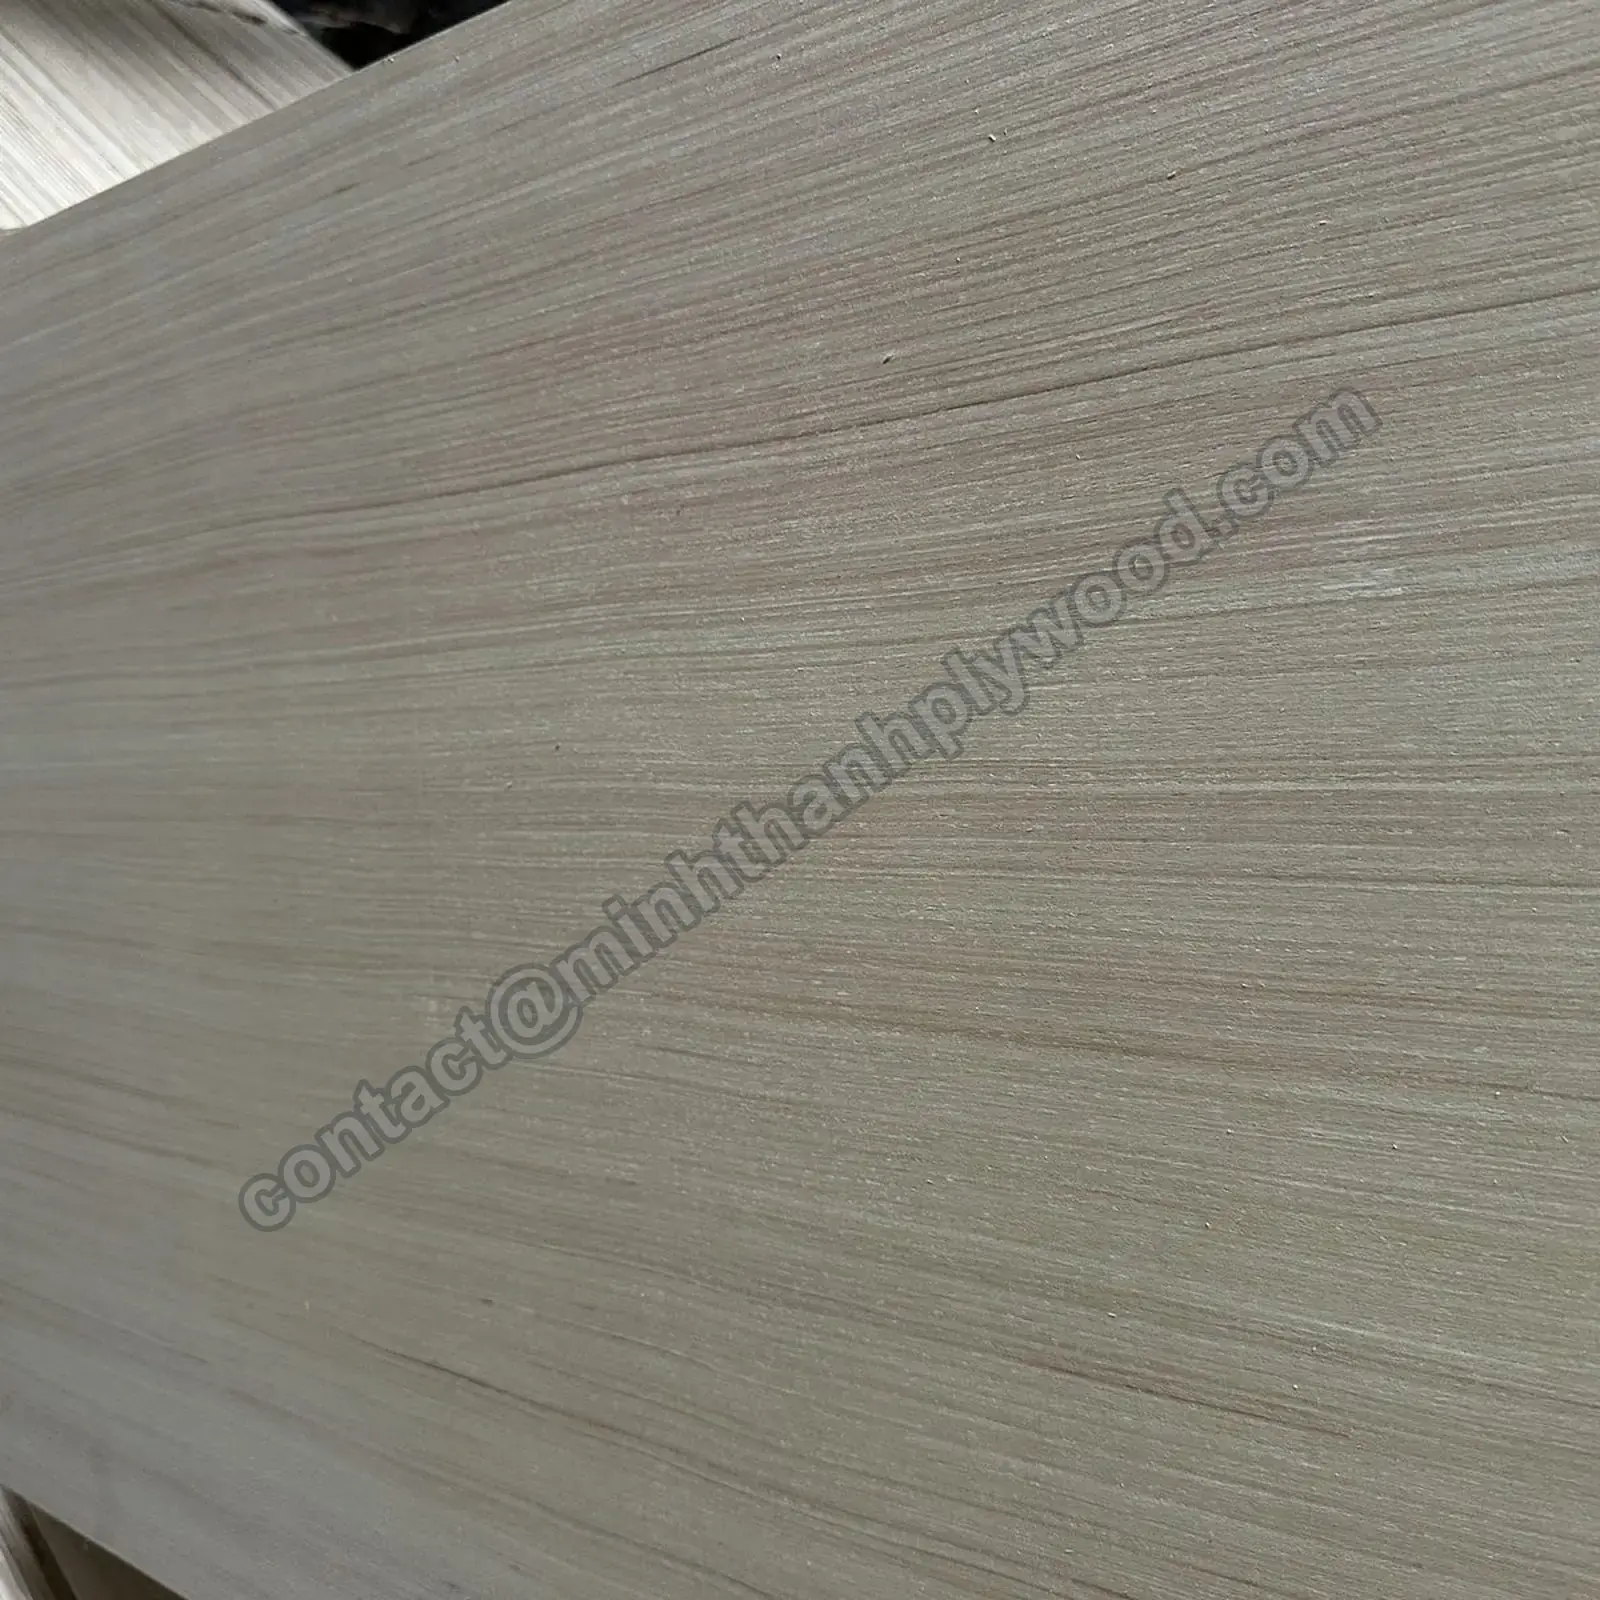
Choose the face for what the buyer sees after finishing: visible grain, painted colour or a decorative covering. Birch provides pale natural grain; poplar provides a pale face for interior parts and paint; EV, engineered veneer, provides a repeated pattern. Eucalyptus and other face options offer different colour and figure.
The cabinet interior needs its own appearance instruction. An open shelf and an interior seen every time a door opens are visible furniture surfaces. Approve them under the actual coating rather than using the higher-grade front sample to represent the entire cabinet.
For poplar-faced panels, use A/A for two equally visible surfaces or A/B for a principal face and separately approved reverse. Birch pairs use Vietnamese D+, D and E grades; D+/D is approximately comparable to B/BB appearance. The physical reference fixes allowed patches, knots and colour. It also defines the sorting needed across adjacent birch-faced kitchen fronts.
Best plywood for cabinets, by finish
clear-coated fronts and open shelves, birch D+/D; painted fronts and boxes, poplar A/B; decorative grain, EV.
Many kitchen makers first ask for Baltic birch. For painted or edge-banded boxes, a birch-faced panel on a Styrax core gives the same visible face at a lower weight; keep all-birch for designs that show the layered edge. The guide to birch vs Baltic birch plywood compares the two constructions.
Should kitchen panels use Styrax or Eucalyptus core?
Choose the core using the approved machining, fixing and handling trial. Styrax is the lighter standard option, with a reference planning density of approximately 500 kg/m³. Eucalyptus panels use a reference range of 650–750 kg/m³. Face veneer remains a separate selection.
A 1220 × 2440 × 18 mm sheet contains 0.0535824 m³ of material. At 500 kg/m³, its calculated bare-sheet mass is approximately 26.8 kg; at a 650 kg/m³ Eucalyptus planning reference it is approximately 34.8 kg. Those differences affect carrying, cabinet assembly and container planning even when both faces look similar.
Evaluate core changes on the same connectors, hinge plates and shelf supports. Density alone does not define the assembled cabinet’s strength or a screw’s withdrawal capacity. A lighter panel can simplify handling, while a specified denser core can suit the buyer’s qualified construction. Keep the successful sample identified so the next quotation does not replace it with a visually similar panel.
Is plywood better than MDF or particleboard for cabinets?
Select the substrate by component and production process. Veneer-core plywood provides selectable faces over a layered core; MDF provides a uniform fibre surface; particleboard uses a particle structure and is commonly ordered with decorative coverings. Each requires its own grade, hardware and exposure specification.
| Buyer decision | Veneer-core plywood | MDF | Particleboard |
|---|---|---|---|
| Clear natural face | Order the decorative veneer and grade | Order a veneer or covering | Order a veneer or covering |
| Deep painted door profile | Trial routed veneer and exposed core | Trial smooth fibre profile and sealed edges | Trial profile and repair requirements |
| Exposed edge design | Layered edge can remain visible | Fibre edge requires its intended treatment | Particle edge requires its intended treatment |
| Connector installation | Qualify the selected core and drilling | Qualify selected board grade and drilling | Qualify selected board grade and drilling |
| Humid location | Specify bond, coating and detailing | Specify moisture-rated grade and detailing | Specify moisture-rated grade and detailing |
A cabinet line can use plywood boxes and a different front substrate. Compare complete production cost: accepted parts, machining, coating, connectors and handling. The plywood versus MDF guide develops that comparison beyond an unsupported claim that one sheet material is always better for every kitchen.
How should the sink unit differ from dry storage?
Specify sink cabinets around splash, condensation and possible leak paths, with the required bond and protected edges. Describe the exposure before naming the panel. A cupboard storing dry crockery and a cabinet surrounding waste plumbing do not have the same service conditions.
Draw the pipe cut-outs, bottom joints, access panel and exposed front edge. Seal openings after machining with the selected protective system. Make maintenance access practical so a small leak can be repaired and dried instead of remaining hidden behind a permanently sealed panel.
Standard furniture panels use UF glue at E0 emission for the dry-interior specification. A different exposure needs the appropriate bond requirement on the order. The APA moisture guidance describes the importance of controlling water paths in wood construction (checked 8 October 2026). Protecting the full cabinet is still necessary when the panel adhesive is water-resistant; exposed timber edges remain part of the installation detail.
How should plywood kitchen design address doors and drawer fronts?
Specify the front’s finish, grain direction, edge treatment and hardware before settling thickness. For a slab door, evaluate 15–18 mm as starting sample sizes. Tall doors, routed pulls and relief patterns need trials at their actual size because machining and finish affect the finished leaf.
Clear-finished fronts need a colour-grouping instruction across adjacent components. EV patterns need an orientation mark in the nesting layout. Painted fronts need the repaired areas and routed edges checked under the primer and final topcoat. Keep the reverse treatment on the same schedule as the principal face.
Select the hinge model before drilling, including its required panel thickness and permitted geometry. Check a front with its handle, hinge cups and edging installed, then measure flatness and operating gaps. Order slab doors at full 15–18 mm thickness and framed doors as a frame plus a thin 3–6 mm panel.
How do you choose shelf thickness and supports?
Choose the shelf using its unsupported span, depth, panel construction and load pattern. Write the distance between supports on the drawing and state whether the shelf is fixed, adjustable or supported along its back.
Test the actual service load and its distribution. A stack of plates over one short region loads the shelf differently from evenly distributed food containers. Include the planned load duration and permitted deflection in the trial, then check any residual shape after unloading.
Compare changing the support arrangement with changing every shelf’s thickness. A centre support or another approved connection can shorten the effective span, but it changes storage access and installation. Keep that design change explicit. For adjustable shelves, test the shelf-pin connection and retained edge clearance together with the panel. The completed storage component has to keep working after the cabinet has been loaded and moved into its installed position.
What do joints and hardware require from the panel?
Joints and fittings need consistent geometry and sound material where their connections engage. Choose the connector system, screw, dowel or rebate before machining the panel. Examine the remaining material after drilling, especially when a hinge recess and an edge connector share a corner.
Blum’s CLIP top BLUMOTION technical downloads provide model-specific planning documents for cabinet hinges (checked 8 October 2026). Use the selected hinge’s drawing rather than copying a generic hole pattern into every door. Keep hardware codes and document revisions with the sample record.
For wall units, name the hanging rail or bracket so we can quote the side and rail panels that carry it.
Why does finished thickness tolerance matter?
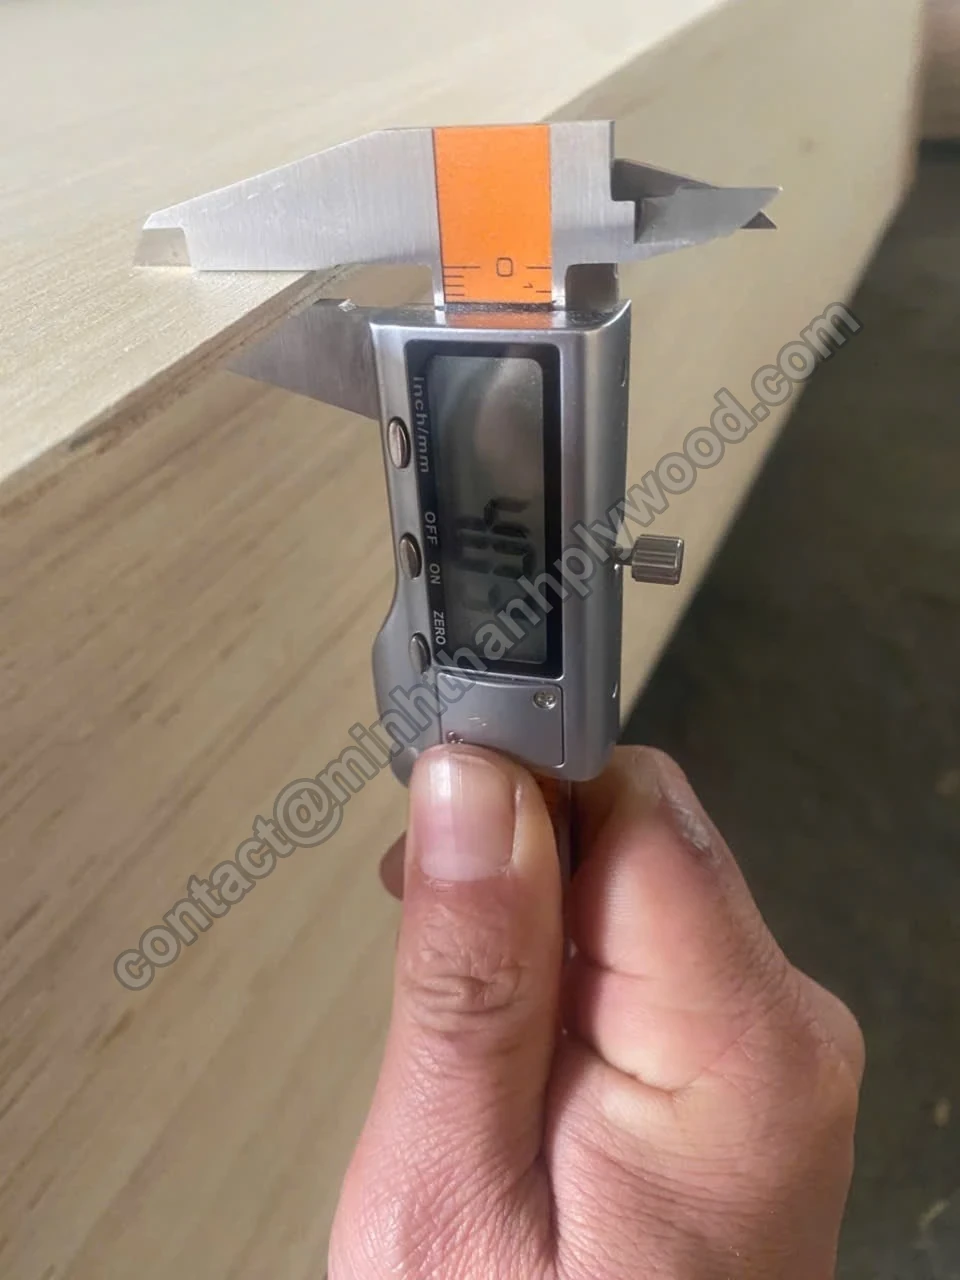
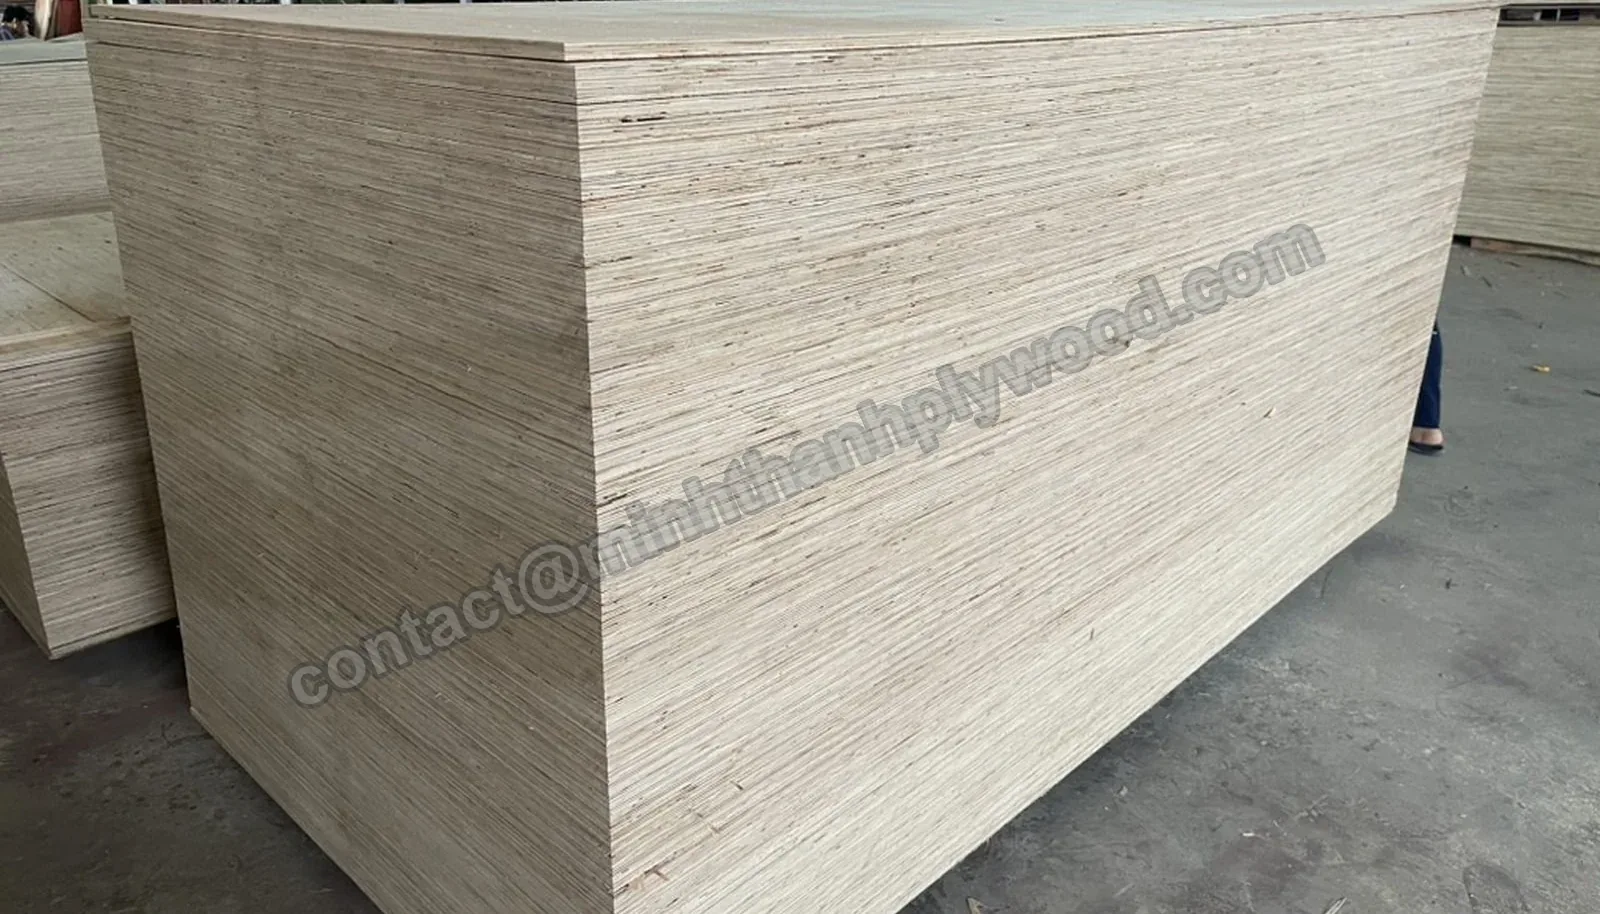
Finished thickness controls groove fit, connector position and the outside dimensions of an assembled box. Minh Thanh’s furniture reference is ±0.2–0.3 mm, with tight specifications down to ±0.2 mm. An 18 mm panel ordered at ±0.2 mm has an accepted band from 17.8 to 18.2 mm.
Connect that band to the machining method. Two side panels cut at one outside box width change the opening between them as their actual thickness changes. A connector or dado set from one convenient sample sheet might not fit the rest of the accepted range.
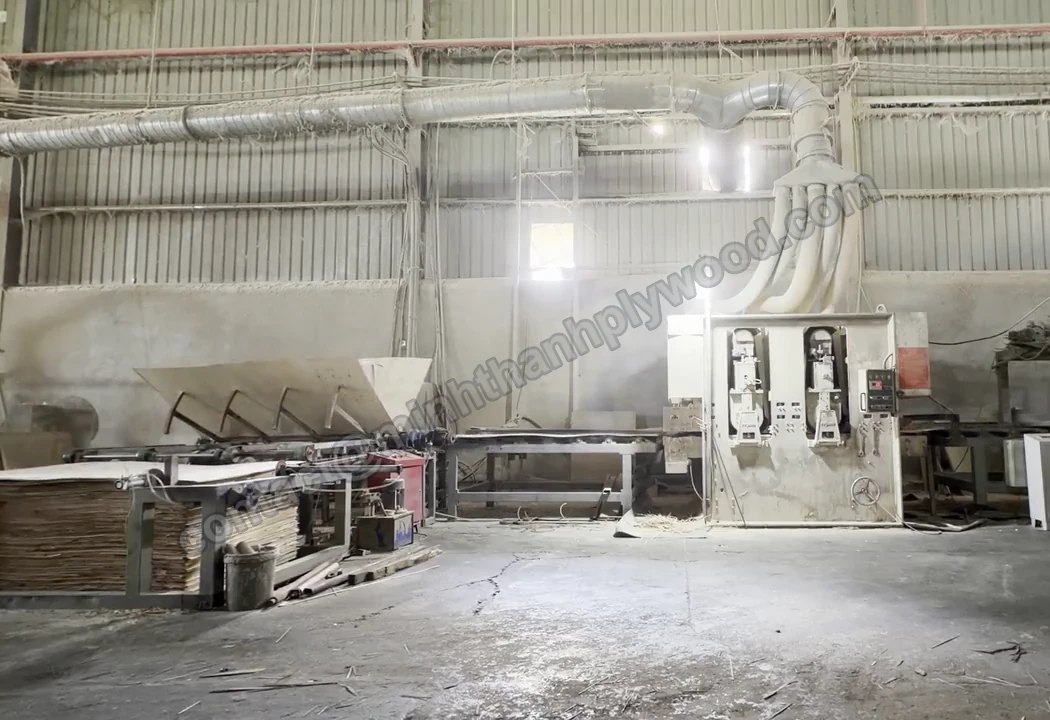
Measure finished sanded thickness at agreed positions, across more than one sample sheet. Qualify the upper and lower accepted values with the intended hardware and tooling. Our double-pressing sequence includes calibrating the core before the faces are applied; the buyer’s coating and final machining must also be included when setting finished component dimensions. Write sheet tolerance and finished-part tolerance as separate requirements.
How should exposed edges and finishes be approved?
Approve the edge treatment and coating on a finished cabinet corner, not only on a flat face sample. An exposed plywood edge shows the internal layers; edge banding covers the perimeter; lipping adds a separate strip that can support later machining or a particular visual detail.
Specify whether finished dimensions include banding or lipping. Check trimming at door corners, glue lines, handle cut-outs and the meeting surfaces of adjacent fronts. A minor buildup on every edged component can change the cabinet opening or visible gap across a production run.
We supply both faces UV-ready for the customer’s coating process. Run the actual sanding, coating and curing sequence before approving that preparation. For clear finishes, compare face repairs and veneer colour under the selected coat. For paint, check grain visibility and routed edges after the full finish. Keep the rear treatment and all exposed edges in the same finishing record so the successful sample represents the entire part.
What details matter around ovens and dishwashers?
Build the oven and dishwasher housings to the appliance maker’s installation drawing for clearances and ventilation, and seal every cut edge near steam with your coating. Use the same 18 mm box panels; an MR bond on the dishwasher side panels adds margin against condensation.
How do you calculate one cabinet’s panel demand?
Calculate each rectangle at its own thickness, then nest the parts onto the selected sheet format. A worked procurement example uses a 600 mm wide, 720 mm high and 560 mm deep box, with 18 mm sides and top/bottom panels fitting between the full-height sides.
The top and bottom width is 600 − 18 − 18 = 564 mm. Two sides at 720 × 560 mm plus two horizontal panels at 564 × 560 mm give 1.43808 m² of 18 mm material. Multiplying by 0.018 m gives 0.02588544 m³. An overlaid 600 × 720 × 6 mm back adds 0.002592 m³.
At a Styrax planning density of 500 kg/m³, these five bare components total approximately 14.24 kg. This example excludes doors, shelves, rails, hardware, edging and packing. Multiply by the number of boxes to check sheet quantities on the order.
How should you qualify the cabinet sample?
Build a complete representative box with the intended panels, joints, hardware and finish. Use panel samples for material selection, then build the complete assembly in your workshop. Choose the most demanding ordinary configuration in the range, together with separate trials for tall fronts, wider shelves and wet units.
- Identify every panel construction and measure the finished thickness.
- Cut and machine on the planned production equipment.
- Check visible and concealed edges after routing or drilling.
- Assemble the box in the intended fixture and measure its geometry.
- Apply the inside finish, edge treatment and front coating.
- Install shelves, doors, drawers and the selected hardware.
- Trial the intended contents and operating movement against written criteria.
- Record accepted changes on the panel schedule and assembly drawing.
Keep the sample as a physical reference. Photograph joints before concealed parts are fitted so later review can see the connection detail. A sample completed with altered screws or an extra brace has produced a revised design; purchasing and the workshop need that revision before the sheet order is released.
Which emission and product records should buyers request?
Request the destination’s emission documentation against the identified panel construction, with adhesive or bond performance specified separately. Minh Thanh holds CARB P2 / TSCA Title VI certification, ICTT mill no. 23024. Standard furniture production uses UF glue at E0 emission.
The US EPA regulated-stakeholder guidance describes how non-exempt laminated products are treated (checked 8 October 2026). The limit for hardwood plywood made with a veneer core is 0.05 ppm of formaldehyde under 40 CFR 770.10. For EU buyers, origin records matter too: the European Commission EUDR page gives 30 December 2026 as the application date for large and medium operators. Cabinet producers and importers need their applicable product records through fabrication and supply. The panel purchase and the finished kitchen sale are connected by material identity.
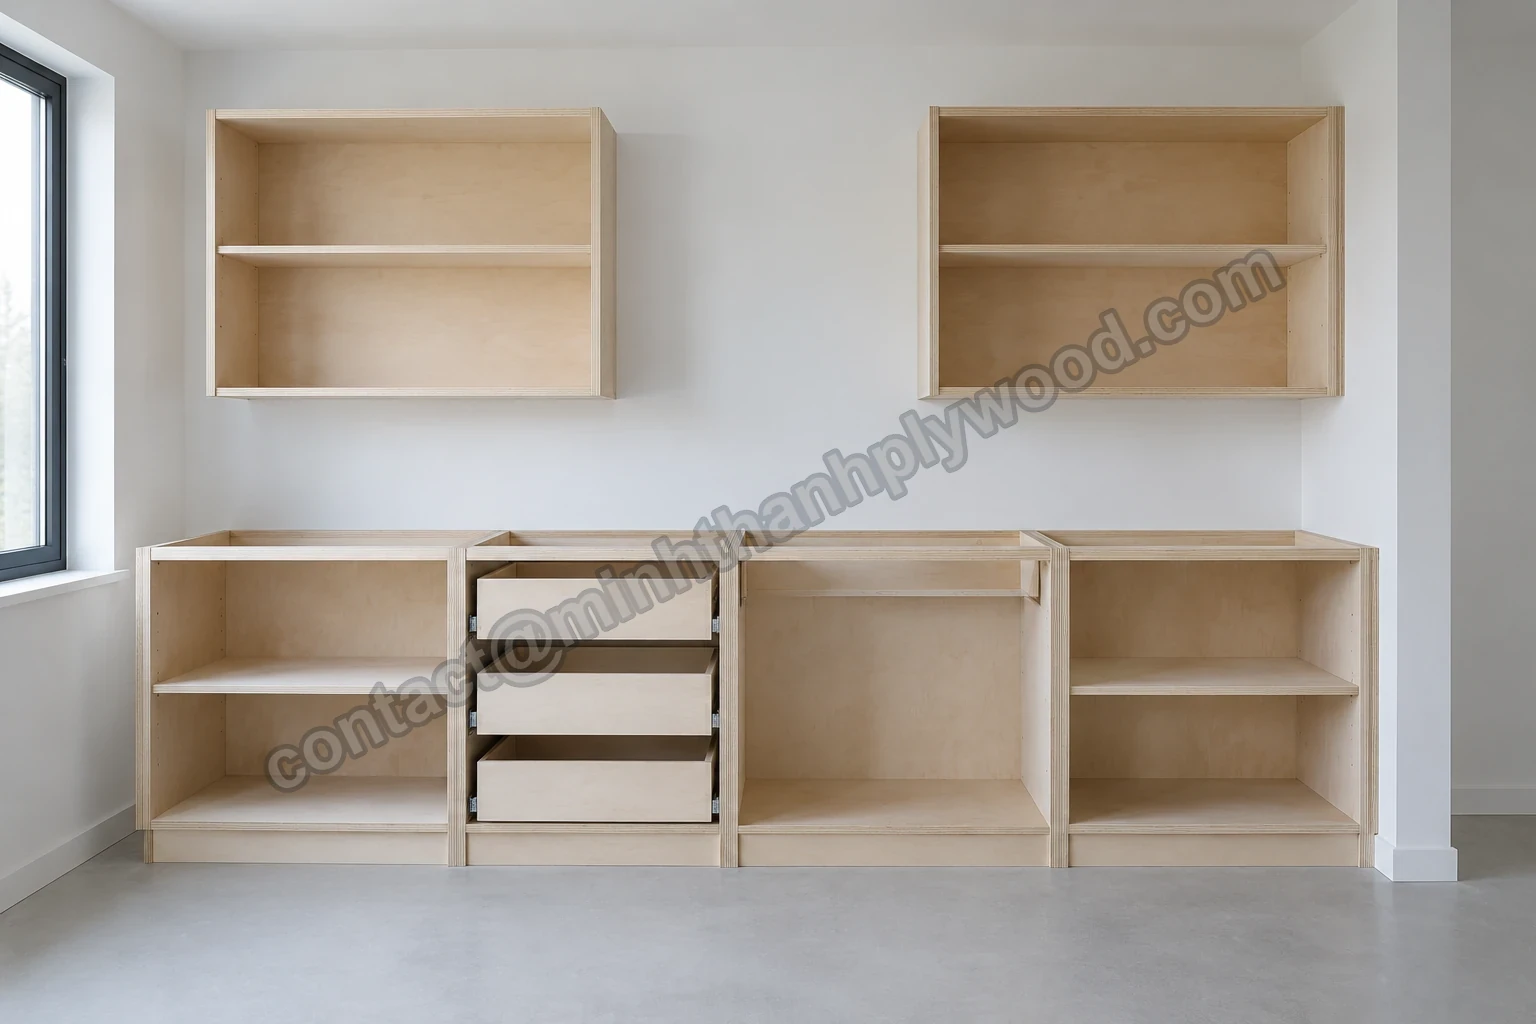 Plywood carcasses, drawers and shelves: each part carries the emission record of its panel.
Put the test method beside any requested result. For European projects or a buyer-specific furniture programme, specify the applicable method and finished-product test plan; we arrange third-party testing through SGS on request. Our quality information provides the starting documentation. An emission designation does not select the bond for a sink cabinet, and a water-resistance description does not replace emission records.
How should a factory plan sheet formats and the order mix?
Plan the load around complete cabinet sets and the actual cutting layouts. Minh Thanh supplies 1220 × 2440 mm and 1250 × 2500 mm, plus custom formats. Evaluate those sizes with grain direction, saw kerf, trimming and face sorting included.
A gross-area calculation is useful for checking quantities but cannot prove cutting yield. A tall front might occupy most of a sheet’s length while leaving offcuts useful only for another construction. Pair those offcuts with compatible components rather than counting them as interchangeable spare area.
Separate demand for thick box panels, thin backs and decorative fronts. Add the production run and reserve quantities to each line so the order does not leave the workshop with thousands of backs and too few side panels. Cut-to-size supply includes sheets divided into four, six or eight pieces; attach the layout and remaining workshop trim. Mixed specifications are agreed within the container plan, with packing that preserves each panel’s identity.

What should incoming cabinet plywood inspection cover?
Inspect receiving condition and panel conformity before releasing packs to the cutting line. Match labels and quantities to the component schedule, then carry out the agreed sample checks. Keep transport damage separate from a construction or finish issue.
| Check | Record | Compare with |
|---|---|---|
| Pack identity | Core, face/back, thickness and quantity | Purchase line and pack schedule |
| Thickness | Agreed measurement locations and instrument | Written sanded-panel tolerance |
| Appearance | Both faces, patches and handling marks | Approved coated reference |
| Machining | Connector hole, groove and edge trial | Accepted component sample |
| Assembly | Representative box dimensions and operation | Cabinet drawing and acceptance plan |
| Documentation | Product identity and destination records | Order’s document schedule |
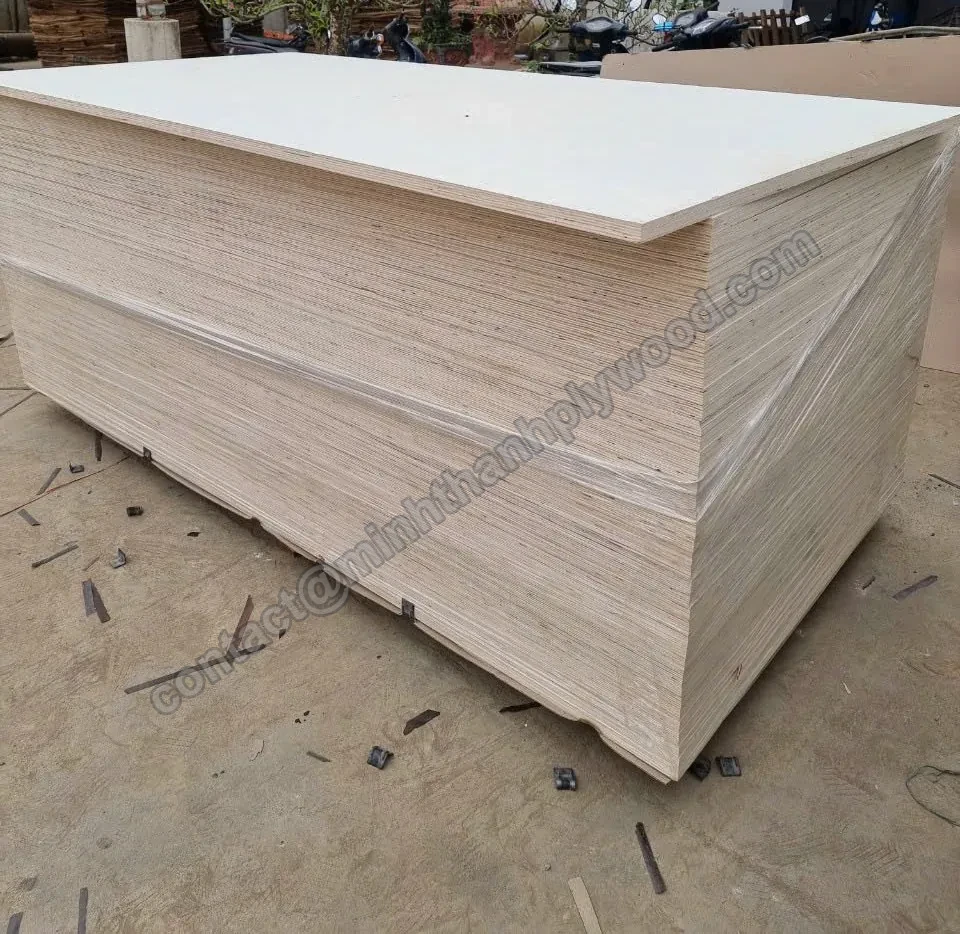
Dispatch moisture is 8–12% for furniture panels. Store sheets flat, dry and off the floor on aligned supports; allow them to reach workshop conditions before final machining. Photograph defects with pack and sheet identification, then retain a representative offcut. That evidence gives both the buyer and factory a clear route to the appropriate correction.
What should you send for a kitchen plywood quotation?
Send the cabinet component schedule, finish references and quantities by construction. The request needs application, core, bond and emission requirements, face/back, finished sheet size, thickness tolerance, sanding or UV-ready preparation, packing and quantity. Add the destination port and FOB, CFR or CIF term.
Free samples. Choose the panel construction before making the workshop’s complete cabinet trial.
Include the cupboard mix: base, wall and tall units; dry and sink units; shelves; fronts; drawer components. Attach grain direction and cutting layouts where matching fronts matter. The best plywood for furniture guide helps organise face, core and finish choices.
Standard orders start at one 40HC container, with mixed specifications by agreement. Production takes 15–45 days after the 30% deposit, with the 70% balance against scanned B/L or an irrevocable L/C at sight. Compare quotations at the same panel specification and delivery term, then compare the workshop’s accepted component cost. Send your kitchen cabinet specification to begin the panel and sample discussion.
Buyer questions, answered
What plywood should I use for kitchen cabinets?
Furniture-grade birch-faced or poplar-faced plywood on a white Styrax core with UF glue at E0 emission. Use 15–18 mm for boxes and fronts, 3–5 mm five-ply for backs, and an MR or WBP bond for the sink unit.
Is 18 mm plywood suitable for kitchen cabinet boxes?
Yes. 18 mm is the standard thickness for cabinet sides, tops and bottoms; we hold it to ±0.2–0.3 mm so connectors and grooves fit every box.
Is birch-faced plywood the same as all-birch kitchen plywood?
No, birch-faced describes the outer veneer. Minh Thanh's furniture panels use Styrax or Eucalyptus core with the selected face. Put face and core on separate purchase lines so appearance approval does not replace construction approval.
Should I use plywood or MDF for painted kitchen doors?
Compare the finished component: MDF offers a uniform fibre surface for routed painted profiles, while plywood has layered edges and a veneer face. Trial paint, edge sealing, hinge fixing and the intended exposure on the chosen board grade. One kitchen can use different substrates for its boxes and fronts.
What should I specify for a sink cabinet?
An MR/melamine-fortified or phenolic WBP bond instead of the standard UF glue, with sealed cut-outs and edges. Draw the pipe openings and a removable access panel on the sample.
What thickness should cabinet backs be?
3–5 mm for captured or fixed backs. Minh Thanh's thin 3–5 mm panels always have five plies; wall cabinets hang from a separate rail.
Can I buy plywood kitchen doors UV-ready?
Yes, both faces can be prepared UV-ready for the customer's coating line. Specify the face/back, sanding and thickness tolerance, then test the coating, edging and hinge drilling on the sample. The customer applies the UV finish.
How much weight can a plywood cabinet shelf hold?
It depends on the span: an 18 mm shelf on ordinary cabinet widths carries everyday kitchen loads, and wider or heavily loaded shelves move to 21–25 mm or a centre support. Test your shelf at its real span and load.
Is E0 the glue used in kitchen plywood?
No, E0 is the emission class. Minh Thanh's standard furniture panels use UF glue at E0 emission; write bond and emission class as two lines on the order.
What is the minimum order for kitchen cabinet plywood?
Standard orders start at one 40HC container, with mixed specifications by agreement. Give quantities by thickness, face/back, core and format so the load supports complete cabinet production. Production takes 15–45 days after deposit; free samples.