
Choose plywood wall panels by the visible face, support layout, joint detail and finished-room exposure. For plywood garage walls, add impact protection and a designed fixing path for storage. Minh Thanh Plywood supplies furniture and interior panels with Styrax or Eucalyptus cores. Specify decorative lining separately from structural sheathing and approve the coating and required fire evidence before ordering.
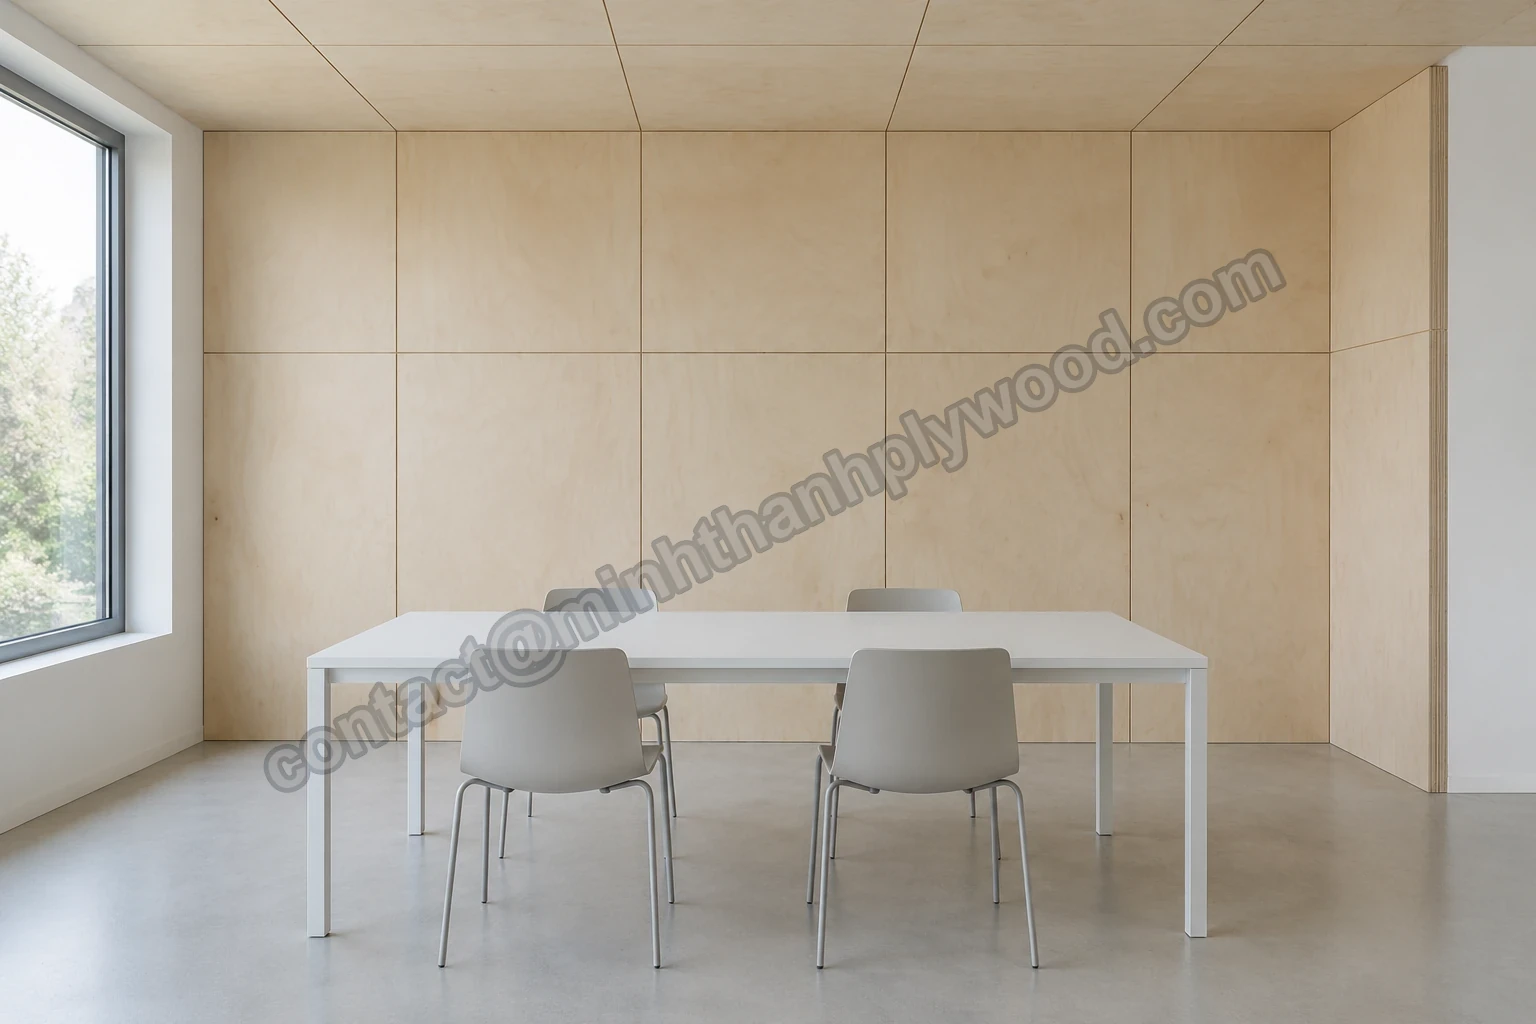
What is a plywood wall, and which layer are you buying?
A plywood wall is a wall finished or sheathed with panels made from bonded wood veneers. Exposed interior lining provides the visible surface. Structural sheathing sits within a designed wall assembly and contributes to its bracing or other specified performance.
This guide selects exposed plywood wall panels for interiors, shop fitting and garages. Start with the wall elevation and the room’s service conditions. An importer needs to know which face the occupant sees, how panels meet, what supports the edges and whether any equipment hangs from the wall. Those decisions determine the panel construction and the sample to approve.
On mobile, swipe the table sideways to compare all wall layers.
| Wall layer | Main buying decision | Evidence to request |
|---|---|---|
| Exposed decorative lining | Veneer appearance, flatness, joints and coating | Face/back specification and finished wall mock-up |
| Utility garage lining | Impact exposure, support and storage attachments | Panel construction, mounting detail and finish sample |
| Structural wall sheathing | Design loads, bracing and fastener schedule | Required structural grade, certification and design documents |
| Fire-separating wall assembly | Complete tested or prescribed assembly | Applicable assembly detail and matching product records |
Minh Thanh’s furniture and interior plywood provides calibrated panels with selected face veneers. A decorative face grade describes appearance; it does not assign a wall bracing capacity. Keep structural purchasing on a separate schedule so a pleasing lining sample cannot become an accidental sheathing substitution.
A wall can contain both layers. For example, a designed structural panel can be concealed behind a decorative veneer lining. Each line on the order should name its own job and evidence. That also makes a later change to the decorative face easier to assess without rewriting the structural wall design.
Which face works best for plywood wall panels?
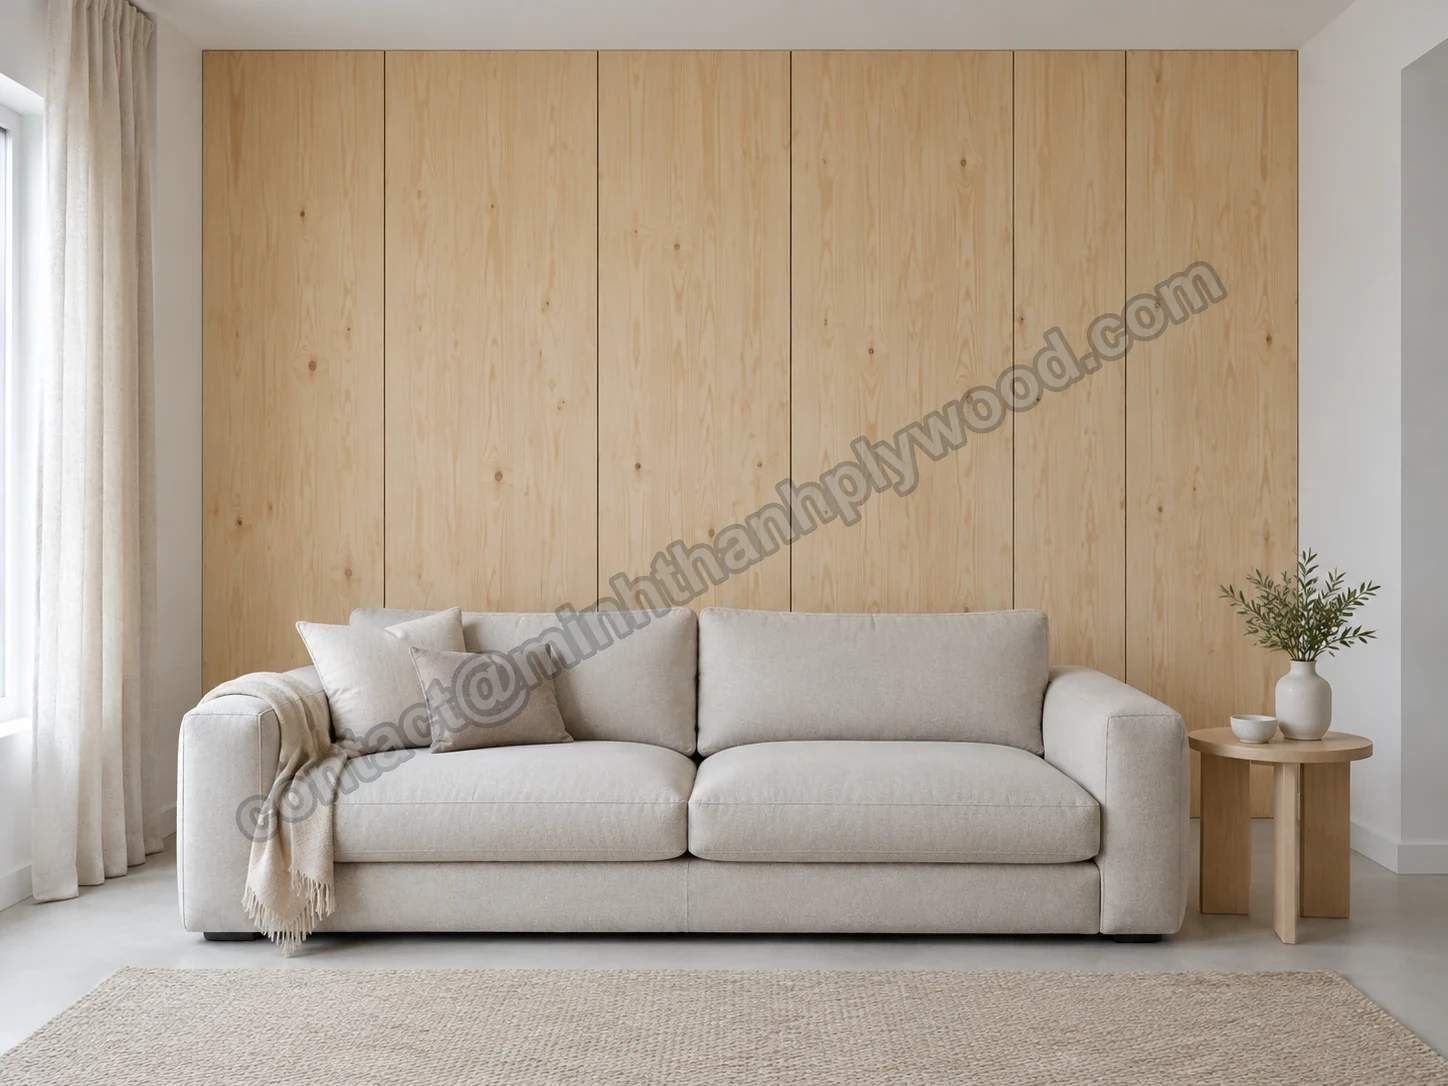
Choose the face for the intended finish: birch for pale visible grain, engineered veneer for repeated patterns, and poplar for a painted surface. Pine brings stronger grain and visible knots. The core remains a separate purchasing choice behind each face.
On mobile, swipe sideways to read each face and approval point.
| Face choice | Visible character | Approval point for the wall |
|---|---|---|
| Birch-faced | Pale tone with rotary-cut grain variation | Range of colour, small defects and repairs under clear coating |
| Engineered veneer | Deliberately regular grain and selected colour | Pattern direction and consistency across adjacent sheets |
| Poplar-faced | Quiet, pale surface suitable for painting | Grain raising, patches and primer coverage |
| Pine-faced | Stronger grain with knots | Accepted knot appearance, resin-related finishing and stain response |
| Okoume-faced | Pink-beige tone | Colour range after coating and compatibility with surrounding joinery |
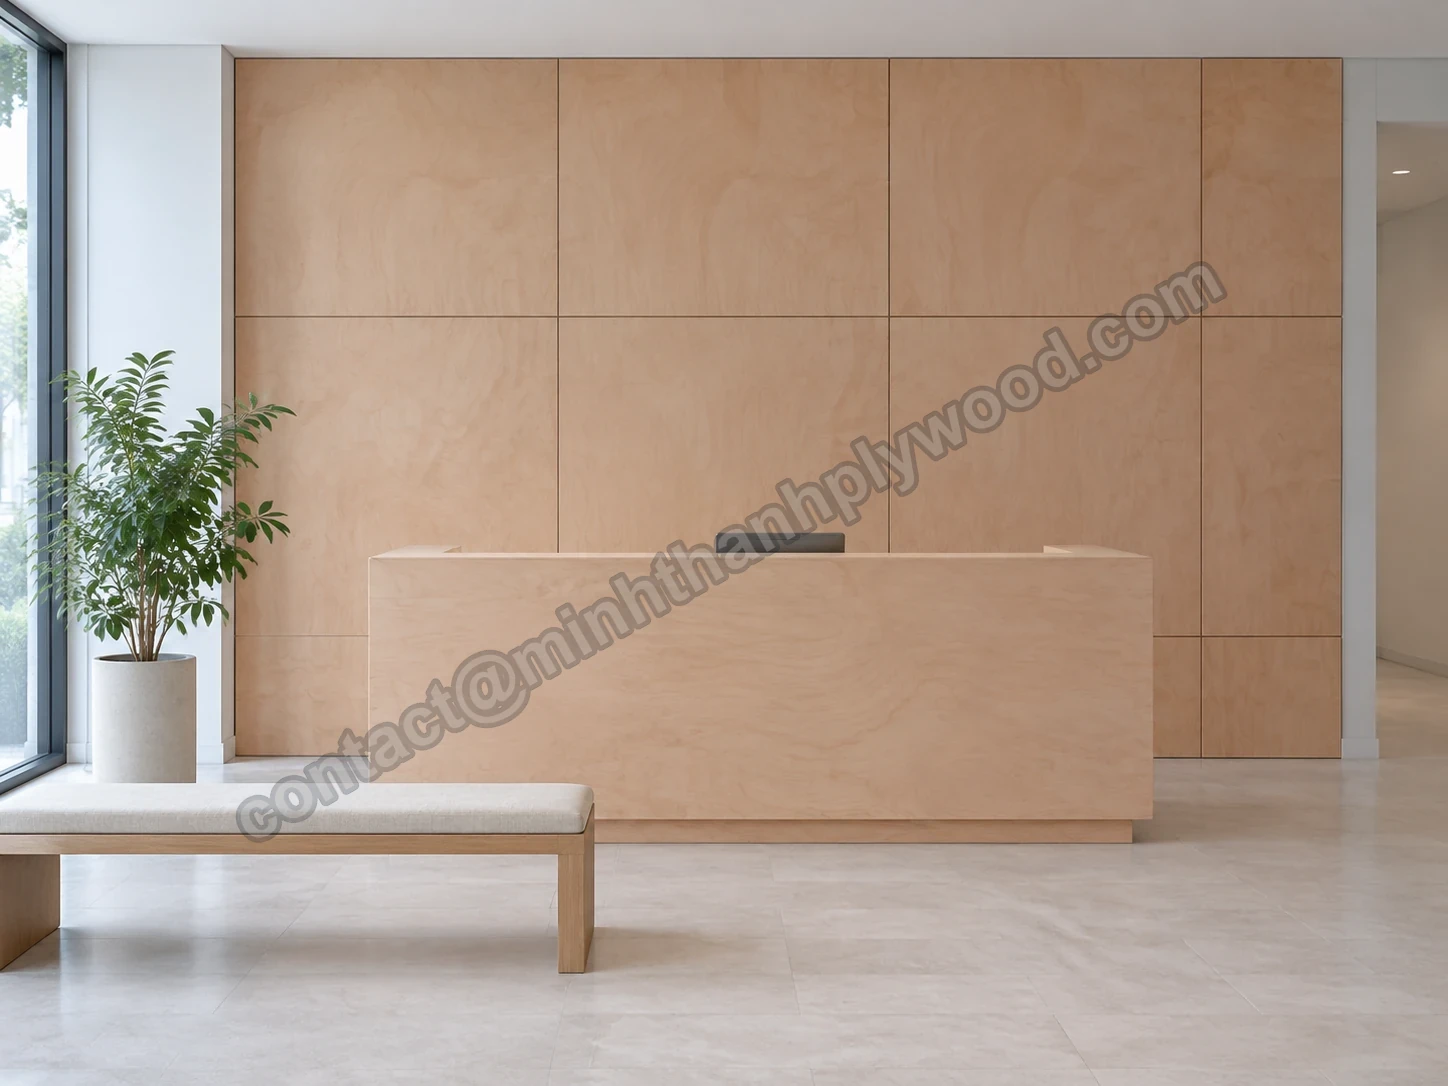
The birch-faced plywood range and engineered veneer range serve different visual briefs. A birch wall shows natural variation; an engineered veneer wall can carry a regular pattern across an elevation. Calling both “light plywood” loses the distinction that determines whether the delivered wall looks right.
Select several adjacent sheets when approving a visible-grain wall. A small attractive square cannot demonstrate how full-height panels vary. Review the veneer direction beside the room’s windows and under its planned lighting. A face that looks uniform in diffuse light can show repairs or shallow surface variations under light running across it.
For painting, approve the primer and cured topcoat on the selected face. Paint hides colour more readily than texture. Repairs, sanding marks and grain can remain visible through a glossy finish. Specify the painted result and preparation sequence so the supplier knows what the raw face must support.
How do you specify grades, grain and colour matching?
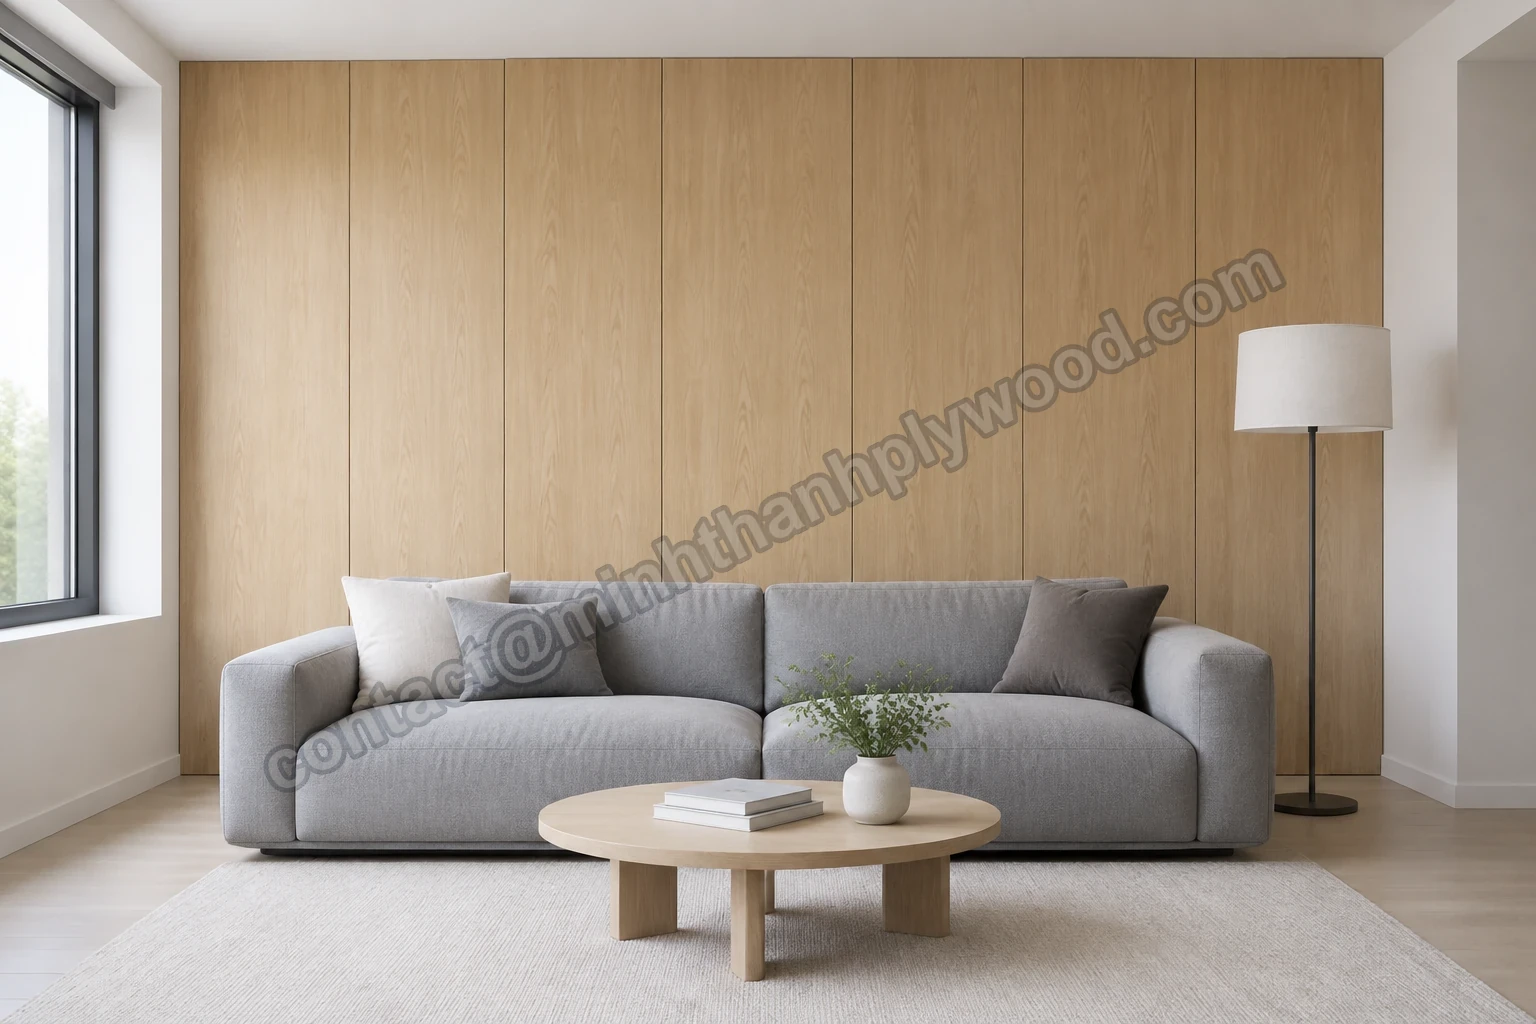
Specify a face/back grade pair and an approved appearance range, then mark grain direction and panel sequence on the elevation. A face name alone does not define the permitted patches, knots or colour variation across a wall.
Minh Thanh uses D+, D and E factory face grades for birch. For buying comparison, D+/D is approximately B/BB and D/D approximately BB/BB. These comparisons help start a conversation; the approved sample fixes the appearance required by the order. Other interior faces are quoted as face/back pairs such as A/A, A/B and B/B.
A one-sided lining and a visible partition have different demands. The hidden back can have a different appearance grade on a supported lining. A partition seen from both rooms needs both faces specified. Returns, exposed reveals and removable access panels also create visible surfaces that a simple front-face schedule can miss.
A useful appearance record includes the lightest and darkest accepted sheets, permitted repairs and the finished coating. Decide whether sheets are simply selected for a compatible tone or assigned to numbered wall positions. Natural rotary-cut veneers do not automatically form a continuous matching picture across separate boards. Where pattern continuity matters, make that a distinct veneer-layout instruction.
Define rejects in observable terms. “No visible patches on the principal elevation” is a different instruction from accepting sound patches beneath opaque paint. Include viewing distance and finish in the mock-up review. Sorting raw sheets after coating is expensive, so settle the acceptance range before committing the production quantity.
What does the core change on an interior wall?
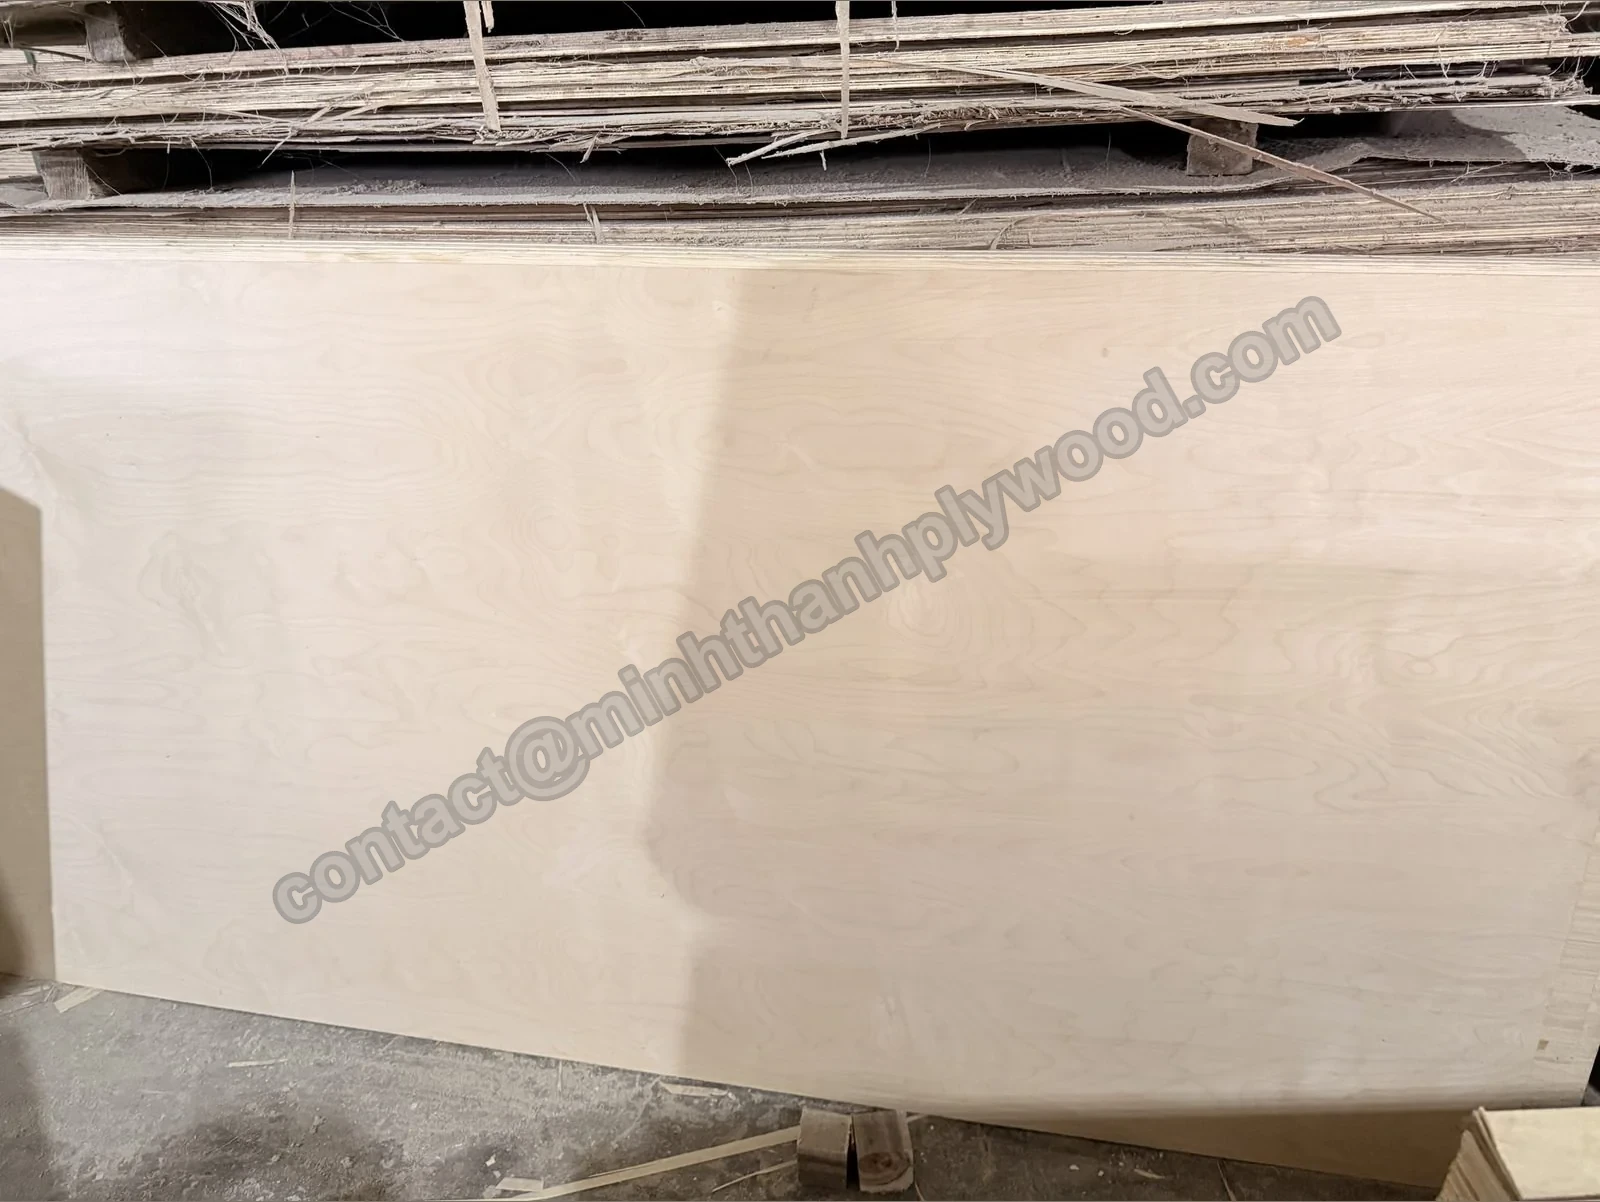
The core changes sheet mass, edge appearance and the substrate beneath the face. Specify it separately from the decorative veneer, especially when the wall includes exposed layered edges, routed grooves or attachments.
Minh Thanh’s standard furniture cores are white Styrax and Eucalyptus. The furniture construction uses joined veneers and double pressing: the core board is pressed and calibrated before the face and back are pressed on. Calibration prepares the substrate for the decorative veneer. It matters when the wall is viewed under raking light or fitted with tight reveals.
Do not buy an all-birch edge appearance by writing only “birch-faced.” A birch face on Styrax or Eucalyptus is a different layup from an all-birch panel. Inspect a sawn sample edge from the specified construction. An exposed return makes the core visible even when every main face is acceptable.
Routing grooves into the face also changes the brief. A shallow decorative profile can cut through a thin face veneer and reveal another layer. Supply the profile drawing, including depth and the intended finish inside the groove. A finished sample should show the actual cut, not a pattern printed onto an untouched face.
For mounted equipment, the core belongs in the fixing evaluation. Sheet density alone does not establish screw withdrawal capacity or the load a bracket can support. The complete panel and attachment arrangement need to represent the final wall. Keep mass calculations for handling separate from the evidence used to approve attachments.
How thick should plywood wall panels be?
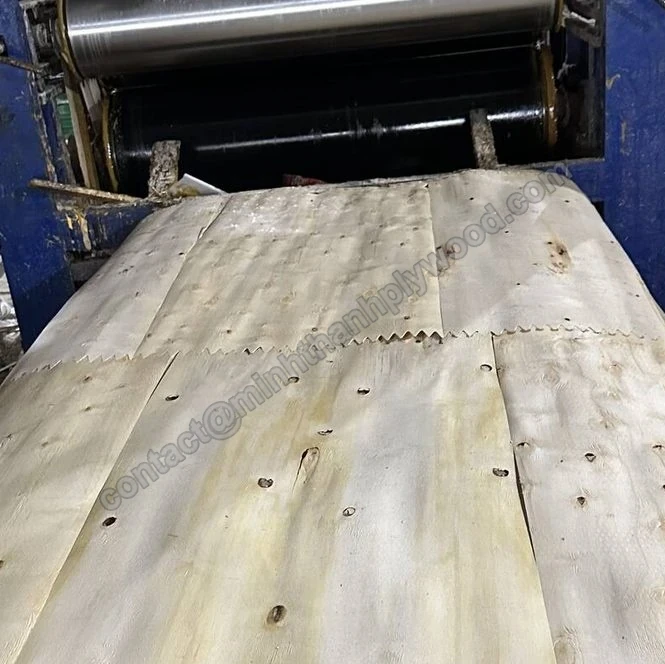
Select wall-lining thickness together with support centres, edge backing and fixing method. For ordinary nonstructural lining, 9 mm and 12 mm are useful candidates for a mock-up; they are not interchangeable with a closely backed decorative skin or a heavily loaded mounting panel.
Plymasters’ wall-lining guide, dated 26 August 2025 and read on 7 October 2026, identifies 9 mm and 12 mm economy linings. It describes 600 mm wall framing centres and a closer 400 mm option for 9 mm lining. Those are that supplier’s installation references, not a structural span rating for every plywood sold in those thicknesses. Use the selected lining system’s instructions for the project.
On mobile, swipe the support table sideways for the drawing requirements.
| Lining condition | What to investigate | What goes on the drawing |
|---|---|---|
| Thin decorative skin over continuous backing | Surface bonding and the backing’s flatness | Backing material and approved adhesive system |
| Panel spanning framing or battens | Stiffness, support centres and edge backing | Panel thickness, batten positions and joints |
| High-contact utility wall | Impact resistance and replaceable lower panels | Fixing pattern, edge detail and protective finish |
| Equipment or cabinet mounting zone | Load path and hardware engagement | Framing/backing locations and attachment schedule |
A thicker panel can improve rigidity and provide more screw engagement, but it adds mass and material cost. A 12 mm lining on well-positioned supports can solve a different problem from an 18 mm panel with unsupported joints. Thickness should answer the drawing rather than compensate for an unfinished support plan.
Specify thickness tolerance where joints, trims or clip systems need it. Minh Thanh’s sanded furniture reference is ±0.2–0.3 mm, down to ±0.2 mm for tight orders. Keep coating build-up separate from raw thickness when fitting profiles. The thickness guide covers panel selection across applications; the wall schedule adds the support and reveal conditions.
How should you plan sheet sizes and panel joints?
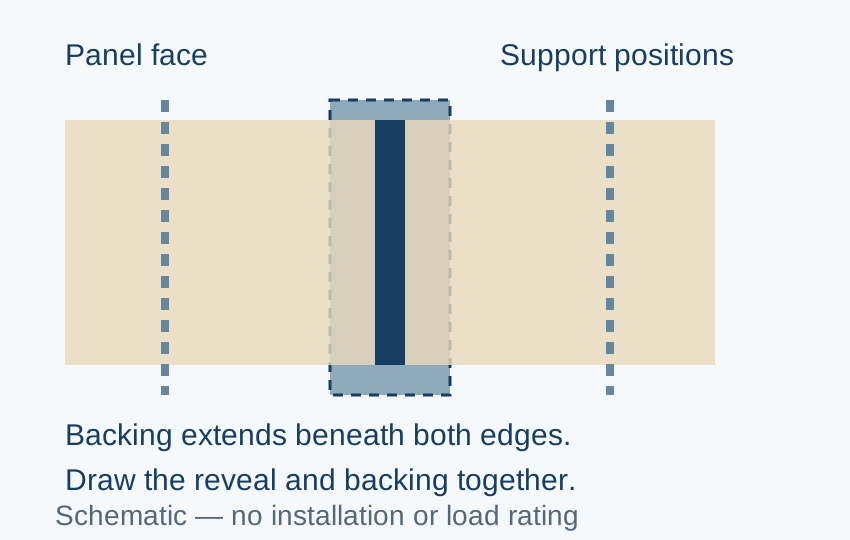
Draw the joint grid before ordering sheets, using the actual delivered format and finished cut dimensions. Position visible joints deliberately and support the panel edges rather than letting the sheet size decide the elevation by accident.
Minh Thanh’s standard formats include 1220 × 2440 mm and 1250 × 2500 mm. These are nominal sheet formats, not a promise of uninterrupted floor-to-ceiling lining in every room. Include skirting, ceiling junctions, opening reveals and any trimmed margins in the cut plan. A taller wall can use a deliberate horizontal band instead of an unwanted short strip at the top.
Shadow joints separate adjacent panels visually. Draw the reveal width, background colour, backing depth and perimeter clearances. Cover strips conceal edges but add another visible material and can make individual panels easier to replace. Tongue, rebated or proprietary profile details require their own machining and fixing instructions.
Wood panels change dimension with moisture. Use the selected lining system’s movement clearances; do not fill every joint rigidly to imitate plasterboard. APA’s structural-panel guidance recommends 1/8-inch panel spacing unless the manufacturer indicates otherwise. That is a structural-panel reference, not a decorative shadow-gap specification. The architect’s visible reveal and the system’s movement provision have separate purposes.
Grain direction can change cutting yield. Rotating a narrow offcut may save material while interrupting the wall pattern. Number the pieces that must keep a single direction and reserve suitable offcuts for concealed or small parts. The sheet-size guide helps compare formats before the final cut schedule.
Which fixing system suits the wall?
Use mechanical fixings, a tested adhesive system or removable clips according to the substrate and access requirement. Specify the complete attachment system alongside the panel so installers receive compatible instructions.
Visible screws provide an intentional fixing pattern and permit removal. Plan head appearance and positions before drilling a clear-coated face. The panel edges need support, and fixings must engage the intended framing or backing. A decorative grid of screws is useful only when it follows a workable support arrangement.
Adhesive with pins or brads can hold a lining while the adhesive cures. The glue must suit the panel back, substrate and service conditions. Coated backs, dusty masonry and damp substrates create different bonding problems. Identify cleaning, primer, adhesive thickness and curing requirements from the adhesive producer’s system rather than buying on the phrase “construction adhesive.”
Adhesive-only walls need evidence for the actual combination of panel and substrate. The March 2025 prefinished-panel fixing detail and uncoated-panel fixing detail from Soudal cover specific Plymasters wall linings. They show why coated and porous backs need separate preparation; use a matching system for the panels being purchased. A generic tube label does not establish the suitability of a full sheet installed onto an unknown painted wall.
Removable clips suit service-access panels and fit-outs that need dismantling. They add depth and require enough panel thickness for the hardware. Approve a sample around an access opening, including the sequence for removing it without damaging adjacent faces. Keep any maintenance clearance in the elevation so the finished design still allows access.
What changes for plywood garage walls?
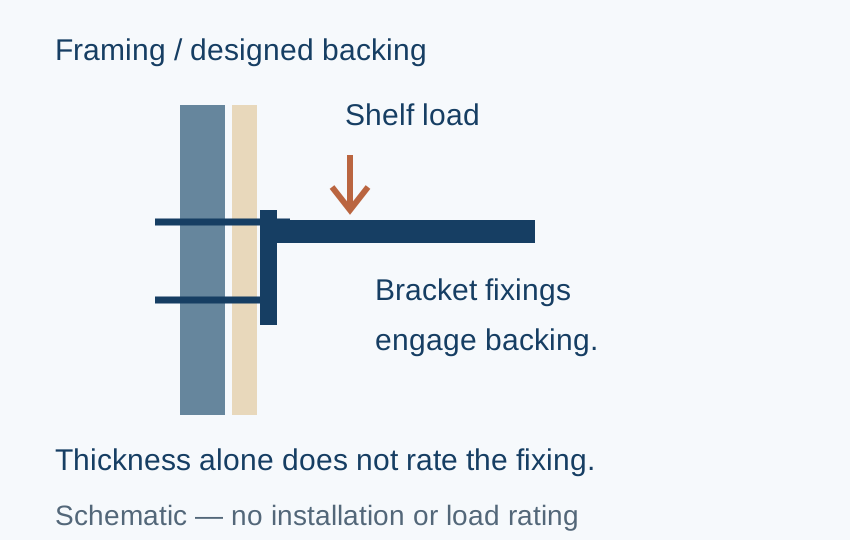
Plywood garage walls need a supported, durable lining and planned mounting zones for tools or storage. Heavy shelves, cabinets and racks should transfer loads into framing or designed backing instead of relying on unspecified screws anywhere in the sheet.
Start by separating general lining from attachment zones. Mark a cabinet rail, tool rack or bicycle bracket on the drawing. Identify the bracket load and its distance from the wall, then design the attachment. A cantilevered bracket applies a different demand from a light hook close to the face. Panel thickness by itself cannot supply a safe load in kilograms.
For a working garage, protect vulnerable lower edges from wet cleaning, splash and contact with the floor. Detail the skirting or clearance and finish the cut edges. Make damaged lower panels replaceable where traffic or equipment will strike them. These details can be more valuable than choosing a decorative face intended for a living room.
Pine-faced or selected utility faces provide a practical appearance when visible repairs and knots are accepted. Birch-faced panels suit a cleaner fit-out. Define the finish first: an opaque paint can accept a different appearance range from clear-coated storage walls. Specify the core and bond independently so a lower appearance requirement does not silently reduce the required construction.
In an attached garage, retain the required separation from the dwelling and any room above it. The 2021 International Residential Code’s R302.6 distinguishes these conditions. Select the wall detail under the locally adopted code; an added plywood lining must fit that detail. Buying a thicker plywood panel is not a reason to remove prescribed gypsum protection.
Is plywood better than drywall, MDF or OSB for walls?
Choose plywood when visible wood veneer and a durable lining are part of the brief. Choose the other material by its specified grade and complete wall system. Compare installed cost and performance rather than declaring one material best for every wall.
On mobile, swipe sideways to compare all material trade-offs.
| Material | Useful wall role | Purchasing trade-off |
|---|---|---|
| Veneer-core plywood | Visible timber lining, shop fitting and utility interiors | Face selection, joint design and coating are part of the cost |
| Gypsum board | Smooth painted walls and specified fire assemblies | Taping, finishing and attachment backing need planning |
| MDF | Painted interior profiles and decorative routed panels | Service grade, edges, fixing and paint preparation need definition |
| OSB | Specified structural sheathing or an intentional strand-texture lining | Structural grade and exposed-finish acceptance are separate decisions |
| Fibre-cement board | Suitable cladding or wet-area systems | Cutting, fixing, weight and the system’s moisture detail affect installation |
Plywood and gypsum do not provide the same appearance. Filling plywood joints to mimic a continuous gypsum surface can remove the design advantage while adding maintenance risk. A painted MDF panel can provide a quiet profiled surface; a clear-coated plywood wall exposes grain and layered edges. Make the aesthetic choice visible in the sample review.
For structural walls, plywood and OSB both belong to engineered panel systems with grade, orientation and fixing requirements. Do not transfer a decorative-lining comparison into a shear-wall specification. APA’s plywood guidance connects panel selection to its intended structural use and support conditions.
The plywood versus MDF guide explains component construction and finishing. For a wall quote, add substrate preparation, battens, trims, installation labour and repair access to the panel price. Comparing only a retail sheet price misses the items that often determine the installed budget.

What moisture and bond specification does the room need?
Match the panel bond and wall detail to the room’s moisture exposure. Dry living-room lining, a humid garage and a shower wall require different specifications. A water-resistant bond does not protect every exposed face, cut edge or concealed cavity.
Minh Thanh furniture panels use UF glue at E0 emission. Resin type and emission class are separate fields on the order. A humid-service requirement also needs an appropriate bond specification; do not use the phrase E0 as a moisture rating. State exposure in plain terms, including condensation, splash, wet cleaning and intermittent heating.
Address moisture at its source before closing the wall. Damp masonry, a leaking roof and trapped condensation remain problems behind a new lining. The wall designer should set the cavity, ventilation and vapour-control detail for the climate and substrate. A generic plastic sheet behind plywood is not a universal basement solution.
At dispatch, Minh Thanh panels have an 8–12% moisture-content reference. Installation follows conditioning to the room and the lining system’s instructions. Set a receiving and installation moisture check, and protect sheets from wet trades and direct floor contact. The release point should be the required site condition, not an unexplained fixed waiting period.
Direct-wet locations need a designed waterproof assembly and compatible finish. Marine or exterior wording on a panel quotation does not complete a shower-wall design. Use the plywood water-resistance guide to distinguish adhesive performance from the protection of the finished component.
How do you approve paint, stain and clear coating?
Approve the finish on the ordered face and actual joint detail before production. A coating sample should show the final colour, sheen, surface preparation and cut-edge treatment that the room will receive.
Clear finishes display the veneer and its variations. Test under the intended lighting and place several samples side by side. Stain can emphasise a repair or absorb unevenly across a rotary-cut face. A raw sample’s colour is therefore a starting point, not the final colour standard for a stained wall.
For paint, use the coating producer’s preparation sequence and approve the dried surface. Check filled repairs, grain raising and edge coverage. Avoid aggressive sanding through a thin face veneer. Decide whether the joint remains visible, is covered with trim or uses a defined profile; paint should follow that decision.
Balance the coating specification with the panel and system supplier’s instructions, including the back and edges where required. Factory preparation for a buyer’s UV coating does not mean the panels arrive UV-coated. Minh Thanh supplies furniture faces ready for the customer’s finishing process; request the surface preparation needed for the selected coating.
Inspect a full-size panel under raking light. Joint lines and shallow surface marks are easier to see there than on a small hand-held sample. Approve a corner, an opening and an access panel as well as the flat face. This exposes finishing work that a single decorative square leaves out.
What fire, emission and acoustic evidence belongs in the order?
Specify fire performance for the exact lining or wall assembly, and emission evidence for the actual panel. Acoustic performance also belongs to the complete system. None of these properties follows automatically from a decorative face or panel thickness.
Reaction to fire concerns the product’s contribution to fire, including smoke where the classification measures it. Fire resistance concerns the wall assembly’s performance under a defined test or prescribed detail. A surface coating classification cannot be silently turned into a wall’s fire-resistance duration. List the required evidence with the intended thickness, substrate, air gap, finish and fixing arrangement.
Minh Thanh’s documented emission proof includes CARB P2 / TSCA Title VI certification, ICTT mill no. 23024. Six ASTM D6007 chamber reports from April 2025 to June 2026, covering 9, 15 and 18 mm samples, averaged 0.014–0.032 ppm against the 0.05 ppm reference limit. Three reports are from Shanghai Hongjun and three from ICTT Vietnam. See the emission evidence for the report records and methods.
The US composite-wood guidance, read on 7 October 2026, covers regulated hardwood plywood, MDF and particleboard under the federal formaldehyde rule. The importer’s product records and labelling belong to that regulated product scope. A coating’s separate volatile-organic-compound claim does not replace the panel’s formaldehyde evidence.
For acoustic walls, a plain sheet is different from a perforated lining over absorbent material. Request the test for the perforation pattern, cavity, insulation and mounting configuration being proposed. Sound absorption within a room is also different from sound insulation between rooms. Specify which problem the wall needs to solve before selecting the panel profile.
How many sheets should you buy, and what will they weigh?
Calculate sheet quantity from a cutting layout, and calculate handling mass from the panel’s dimensions and core-density reference. Area division gives an initial estimate; grain direction, trimmed edges and opening positions decide the purchase quantity.
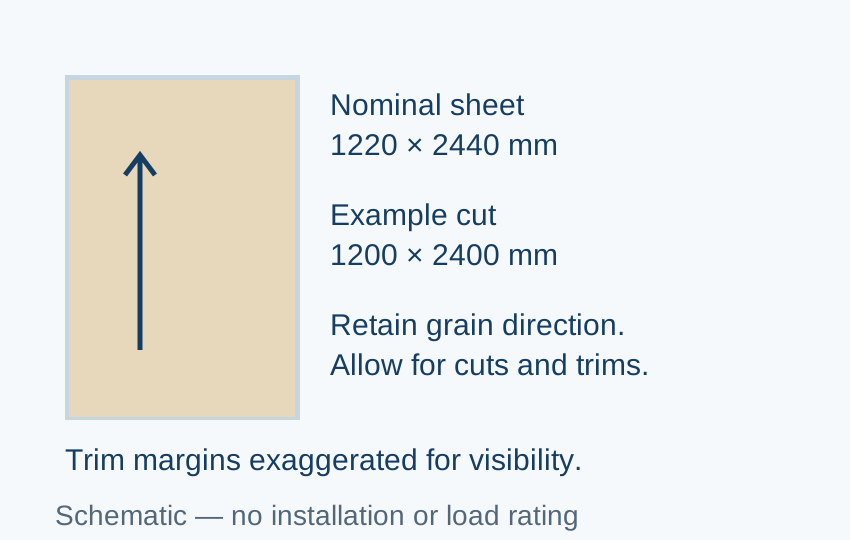
A nominal 1220 × 2440 mm sheet covers 2.9768 m² before cuts. In an illustrative layout of ten equal bays, each 1200 × 2400 mm, the total face area is 28.8 m². Simple area division gives 9.67 nominal sheets, rounded up to ten. One sheet per bay also gives ten, but only when the actual edges, joints and perimeter detail fit the chosen cuts.
The ten cut panels use 28.8 m² from 29.768 m² of nominal material: a calculated 96.7% area yield. That arithmetic describes this example, not a factory cutting guarantee. A rotated piece, a visible defect, a damaged corner or a tall opening can change yield. Draw the finished panel rectangles and keep replacement panels separate from cutting waste.
For a 1220 × 2440 × 12 mm board, nominal volume is 0.0357216 m³. Using the reference core densities, the calculated board-only mass is 17.9 kg at Styrax’s 500 kg/m³ and 23.2 kg at Eucalyptus’s 650 kg/m³. These figures exclude coating, hardware and packaging. Use measured production mass for the final handling and freight plan.
Do not reduce the panel thickness solely to save freight. The support and fixing design still governs its use. The packing calculator separates volume, core mass and container limits; the wall cut schedule establishes which panels belong in the load.
How do you compare wall-panel quotations fairly?
Compare quotes on accepted finished wall area and the same construction. Hold face grade, core, bond, emission requirement, tolerance and delivery term constant before deciding which offer costs less.
A quotation for raw sheets and a quotation for cut, prefinished panels include different work. Separate sheet cost from cutting, appearance selection, machining, coating, edge sealing, packing and freight. Include site labour for sorting faces, preparing substrates and finishing around openings. A lower raw-sheet figure can be offset by more rejected visible panels or a slower coating process.
Use the quantity schedule to compare usable yield. Divide the relevant material cost by the accepted lined area rather than the purchased nominal area. Keep replacement stock identified so its cost is visible. Compare finish samples beside the quote; a cheaper face beneath paint can be appropriate, while the same face under clear coating can fail the intended wall.
For imports, distinguish FOB from delivered cost. Identify the port, freight basis and destination handling assumptions with the buyer’s logistics team. Duties and local taxes need the actual product classification and destination review. Avoid borrowing a retail wall-panel price from another country as an export quotation.
Minh Thanh supplies free samples for this approval process. Send the appearance sample and cut schedule together so the quote reflects both the visible result and the construction. The trade terms explain container orders and payment; the wall schedule explains the product being purchased.
What should the receiving and wall mock-up inspection cover?
Inspect delivered panels against the approved construction and finished mock-up. Check appearance before fixing and coating large quantities, because a face mismatch becomes much harder to correct once the wall is installed.
- Identify the order line and lot; separate different cores, thicknesses or faces before opening packs.
- Check packaging damage and panel moisture condition, then store flat on supported bearers in a protected space.
- Measure thickness and dimensions at representative positions using the agreed inspection method.
- Lay adjacent panels out in the intended direction and compare the approved colour and defect range.
- Cut a representative edge or groove where the design exposes the construction.
- Assemble the support, joint, corner and attachment details in the mock-up; apply the actual finish.
- Record acceptance and isolate damaged or unsuitable pieces before releasing the remaining panels to installation.
Minh Thanh’s furniture thickness tolerance and separate core/face pressing belong in this inspection. A calibrated board is still checked as delivered. Compare a defined defect range rather than rejecting every natural variation. An approved range makes receiving decisions repeatable for both the importer and the finishing workshop.
Keep the wall mock-up at site for the installer and inspector. Photograph it under the lighting used for acceptance and identify the coating product. If a substitute adhesive, trim or coating is proposed later, review that change against the mock-up and system requirements. The sample should remain a working reference throughout the fit-out.
What should you send for a plywood wall quotation?
Send a wall elevation and one specification line per panel construction. Minh Thanh can quote the face and core needed for the visible wall while the project team supplies the support, mounting and required assembly evidence.
Use this order brief:
- Application: decorative interior lining, shop fitting, partition or garage; describe moisture and impact exposure.
- Face/back: veneer name, grade pair, grain direction, colour range and approved finished sample.
- Core: Styrax or Eucalyptus; identify exposed-edge requirements and any routed profile.
- Bond and emission: resin/bond requirement, destination standard, test method and product records.
- Dimensions: nominal thickness, tolerance, full sheet or finished cut size; include the panel layout.
- Installation and finish: substrate, support centres, joints, fixing system, coating and access requirements.
- Evidence: required fire or acoustic documents for the complete proposed system.
- Packing and quantity: panels by schedule line, replacement stock, protection of visible faces and destination port.
The standard export minimum is one 40HC, with mixed specifications by agreement. Production takes 15–45 days after deposit. Plan sample approval and site coordination ahead of that production period; sea transit is a separate stage. A receiving schedule should allow inspection before the fit-out crew needs the panels.
Send your drawing through the quotation contact page or email [email protected]. Lisa is available on WhatsApp at +84 988 586 601. We reply within hours. Start with the visible finish and wall use, then the face/core specification; that gives the factory a concrete panel to quote.
Sources and technical references
The references below distinguish panel guidance from the approved project’s wall detail. Manufacturer installation instructions apply to their own products and systems; authority guidance supplies the relevant product or code context. References were read on 7 October 2026.
- Plymasters: wall and ceiling lining installation, 26 August 2025: lining candidates, support discussion, visual layout and fixing-system options.
- APA: plywood product and technical guidance: structural panel uses, grade context and links to installation guidance.
- APA: panel-spacing recommendations: the 1/8-inch structural-panel spacing reference, distinct from a decorative joint design.
- EPA: formaldehyde emission standards for composite wood products: regulated products, producer oversight and importer information.
- ICC: 2021 IRC, Chapter 3: R302.6 garage separation context; use the code adopted for the project.
Minh Thanh’s product and production values follow the factory specifications current on 7 October 2026. The area, yield and mass example is calculated from the dimensions and density references printed in the article. It is a planning example for comparing orders, rather than a delivered-quantity or mounting-load claim.
Buyer questions, answered
What is a plywood wall?
A plywood wall uses bonded wood-veneer panels as an exposed interior lining or as sheathing within the wall assembly. Decorative lining is bought for appearance, joints and service conditions. Structural sheathing is specified for the wall's engineered bracing and fixing requirements.
What plywood is best for interior wall panels?
Birch-faced plywood suits a pale visible-grain wall, engineered veneer suits a repeated grain pattern, and poplar-faced plywood is a useful painted-wall substrate. Specify the core, face/back grade and finished sample alongside the face name. The best choice is the panel that meets the room's appearance and exposure requirements.
How thick should plywood wall panels be?
For nonstructural interior lining, compare 9 mm and 12 mm panels on the actual support layout and a full-size mock-up. Closely backed decorative skins and freestanding or impact-exposed panels need different constructions. State support centres, edge backing, fixings and mounted loads before selecting thickness.
Can I use plywood for garage walls?
Plywood works as a durable garage lining with a suitable bond, finish and supported edges. Heavy cabinets, racks and brackets need fixings into framing or designed backing, even with a thick lining. Preserve the required garage-to-house separation and specify any added lining within the approved wall detail.
Can I screw shelves anywhere into a plywood wall?
A panel-only fixing has a capacity determined by panel construction, screw penetration and the bracket load. Heavy shelves and cabinets should transfer their load to framing or designed backing. Show the mounting positions and hardware on the wall elevation before ordering panels.
Should plywood wall joints be tight or have a gap?
Use the gap and perimeter clearance in the selected lining system's installation detail. A shadow joint also needs a drawn reveal width, supported edges and a finished background. Tight joints filled like plasterboard can crack when wood panels move.
Is plywood wall panelling waterproof?
A moisture-resistant bond does not make exposed plywood faces and cut edges into a waterproof wall system. Dry-room lining, humid-room lining and direct-wet wall assemblies need separate specifications. Use the wall-system designer's waterproofing detail for showers and other direct-wet areas.
Is plywood better than drywall for garage walls?
Plywood provides a durable wood-faced lining and a useful mounting substrate; gypsum board provides a different finish and role in tested fire assemblies. Compare the complete installed wall, including backing, finish and required separation. Plywood should not replace specified gypsum layers simply because it is thicker.
Are ordinary plywood wall panels fire rated?
Ordinary plywood must not be advertised as a fire-rated wall assembly without matching evidence. Surface reaction-to-fire classification and wall fire resistance are different requirements. Specify the exact panel, coating, substrate, cavity and fixing arrangement covered by the required test or classification.
Can birch-faced plywood have a Styrax core?
Yes. Birch-faced plywood names the outer veneer; Minh Thanh furniture panels use white Styrax or Eucalyptus as standard cores. Specify the core separately and approve the actual edge if the design exposes the plywood layers.
How do I calculate how many wall panels to order?
Divide the net lined area by the usable sheet area for an initial estimate, then draw the cut layout with grain direction and joint positions. A nominal 1220 × 2440 mm sheet has 2.9768 m² of area. Add cutting losses, rejected appearance zones and replacement panels from the layout rather than applying an unexplained waste percentage.
What information does Minh Thanh need for a wall-panel quote?
Send the wall application, face/back grade and approved appearance, core, bond and emission requirement, thickness, sheet or cut size, packing and quantity. Include the support and joint drawing, finishing plan, destination port and required fire evidence. Minh Thanh supplies free samples and replies within hours.